
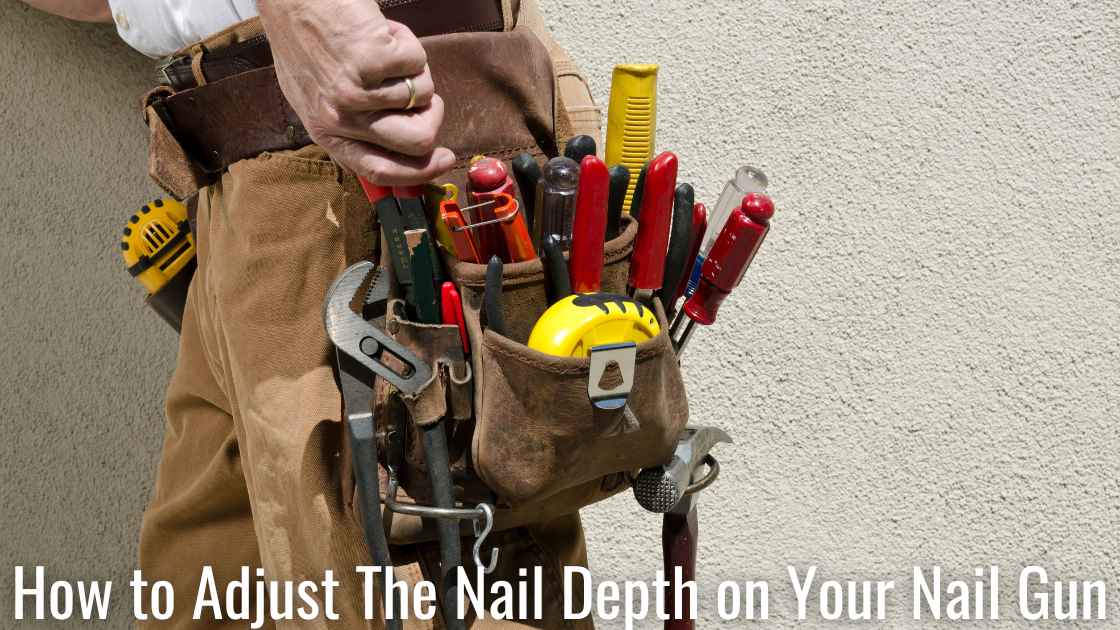
Adjusting the nail depth is key to getting the job done right. Whether you’re working on trim, flooring, or framing, setting the right depth helps nails stay secure without damaging the wood.
It is crucial to know how to adjust the nail depth on your nail gun. Turn the depth adjustment dial clockwise to increase depth. On the contrary, turn that anti-clockwise to decrease the depth.
Getting this adjustment right saves time, avoids mistakes, and makes your work look professional.
Why Nail Depth Adjustment Matters on Nail Gun
Getting the nail depth right on a nail gun is key to making sure your project looks great and holds up well.
Here is why it is crucial:
Stops Nails from Going Too Deep or Sticking Out
- Too Deep: Nails that sink in too far can weaken the wood or even go through it. This is a problem for thin or delicate wood.
- Not Deep Enough: If nails don’t go in all the way, they stick out. This makes the surface uneven and needs extra work to fix.
Makes Your Work Look Better
Nails at the right depth don’t leave big holes or damage the wood. This means less sanding, filling, and fixing.
Keeps Nails Holding Strong
If a nail is too deep, it might lose its grip. If it’s too shallow, it won’t hold well. The right depth keeps things strong.
Prevents Damage to the Surface
Softwoods can get dents if nails go in too far. Hardwoods may not hold nails if they don’t go deep enough.
Works with Different Wood Types and Nail Sizes
Adjusting the depth lets you use different types of wood and nails without problems.
Stops Wood from Splitting
If nails are too deep, they can crack the wood, especially near the edges.
Getting the right nail depth helps your project look neat and strong. If nails go too deep, they can damage the wood. If they don’t go deep enough, they may not hold well. Follow these simple steps to adjust your nail gun for the best results.
How to Adjust The Nail Depth on Your Nail Gun | Step-by-Step
Getting the right nail depth helps your project look neat and strong.
Follow these simple steps to adjust your nail gun for the best results:
Step 1: Find the Depth Adjustment Method
Nail guns have different ways to adjust depth:
- Depth Adjustment Dial/Wheel – Found on most modern nail guns.
- Air Pressure Control – Used for pneumatic (air-powered) nail guns.
- Manual Adjustment – Found on some older models.
Step 2: Disconnect the Power
Always turn off the nail gun before making changes to stay safe.
- Pneumatic (air-powered) nailers – Disconnect the air hose.
- Battery-powered nailers – Remove the battery.
- Electric nailers – Unplug from the power outlet.
Step 3: Locate the Adjustment Control
Most nail guns have a depth adjustment dial near the trigger or tip.
If yours doesn’t then adjust the air pressure (for pneumatic nailers) or check if it requires manual settings.
Step 4: Adjust the Nail Depth
- Using a Depth Adjustment Dial
- Turn clockwise → Nails go deeper.
- Turn counterclockwise → Nails stay closer to the surface.
- Adjusting Air Pressure (for Pneumatic Nailers)
- Find the air compressor regulator.
- Increase pressure if nails don’t go in deep enough.
- Decrease pressure if nails go in too far.
- Most nailers work best at 70-120 PSI (Check the manual).
- Manual Adjustment (for Older Nail Guns)
- Some models need a wrench or screwdriver to change the depth.
- Adjust the nosepiece to set the right depth.
Step 5: Test on Scrap Wood
- Load a few nails and fire into a scrap piece of the same wood you’re using.
- Check if the nail sits just right on the surface.
- Adjust again if needed.
Step 6: Fine-Tune for Different Materials
- Hardwoods (oak, maple, etc.) → May need higher pressure and deeper nails.
- Softwoods (pine, cedar, etc.) → Use lower settings to prevent overdriving.
- Thin trim or delicate work → Set nails shallower to avoid damage.
Step 7: Start Your Project
Once the nail depth is perfect, reconnect the power and get back to work! Now your nails will go in just right.
How Different Nail Guns Adjust Nail Depth?
Different nail guns have different ways of controlling how deep nails go.
Below is a simple guide on how to adjust depth for each type:
Brad Nailers & Finish Nailers (15-18 Gauge)
How to Adjust Depth
- Depth Dial (Most Common Method)
- Turn clockwise → Nails go deeper.
- Turn counterclockwise → Nails stay closer to the surface.
- Air Pressure Control (For Air-Powered Models)
- Adjust the air compressor (usually 70-100 PSI).
- Higher pressure for hardwoods.
- Lower pressure for softwoods.
- Manual Adjustment (For Older Models)
- Some models need a tool to adjust the depth.
Tip
Always test on scrap wood first, especially for thin trim or baseboards, to avoid nails going too deep.
Framing Nailers (21°/30°/34°)
How to Adjust Depth
- Depth Dial or Knob
- Usually near the trigger or front of the nail gun.
- Turn clockwise for deeper nails.
- Turn counterclockwise for shallower nails.
- Air Pressure Control (For Air-Powered Models)
- Most work best at 90-120 PSI.
- Increase PSI for thick wood.
- Decrease PSI for softer wood.
- Firing Mode Affects Depth
- Sequential mode = More control.
- Bump mode = Faster but may need depth adjustments.
Tip
If working with pressure-treated wood then increase the PSI slightly to ensure nails go all the way in.
Roofing & Siding Nailers (Coil Nailers)
How to Adjust Depth
- Depth Wheel/Dial
- Usually found near the nose of the nail gun.
- Adjust based on the thickness of shingles or siding.
- Air Pressure Control
- Roofing: Around 90 PSI.
- Siding: 70-100 PSI, depending on the material.
- Use the Right Nail Length
- Too short → Nails won’t hold well.
- Too long → Can damage materials.
Tip
Nails should be flush with the surface but not sink too deep and damage shingles or siding.
Concrete & Steel Nailers (Powder-Actuated & Gas-Powered)
How to Adjust Depth
- Power Level (For Powder-Actuated Nailers)
- Uses different power cartridges:
- Lower power = shallow nails.
- Higher power = Deeper nails.
- Start low and increase if needed.
- Depth Gauge (For Gas-Powered Nailers)
- Some models have a depth dial near the front.
- Test on Scrap Concrete or Metal First
- Too deep → Can weaken the material.
- Too shallow → May not hold properly.
Tip
Always wear safety gear when using high-powered nailers.
Pin Nailers (23 Gauge)
How to Adjust Depth
- Limited Depth Adjustments
- Some high-end models have a small depth dial.
- Most rely on air pressure control (60-90 PSI).
- Manual Workaround
- Lower air pressure for softwoods.
- Increase PSI for hardwoods so nails go all the way in.
Tip
Pin nails don’t have heads, so make sure they sit just below the surface for a clean finish.
How to Adjust Nail Depth Without a Depth Adjustment Dial?
If your nail gun doesn’t have a depth adjustment dial, don’t worry! You can still control how deep your nails go using these simple tricks.
Adjust the Air Pressure (For Air Powered Nail Guns)
- Find the air pressure knob on your air compressor.
- Start with a medium setting. 70-90 PSI for small nailers (brad/finish). 90-120 PSI for larger nailers (framing).
- Fire a test nail into scrap wood.
- If the nail is too shallow, increase PSI slightly.
- If the nail is too deep, lower PSI a little.
Change the Angle of the Nail Gun
- Fire a few test nails at different angles.
- Watch how the nail depth changes.
- Keep the same angle while nailing to get even results.
- This trick works best for framing and roofing nailers.
Use the Right Nail Size
- Check if your nail length matches your material.
- If nails are going in too deep, switch to a shorter nail.
- If nails aren’t going in far enough, use a longer nail.
- This is especially helpful for trim work, cabinets, and small woodworking projects.
Switch the Firing Mode
- If your nail gun has both single-shot (sequential) and rapid-fire (bump firing) modes, use single-shot for more control.
- Hold the nail gun firmly against the surface before pulling the trigger.
- Fire a test nail and adjust your grip if needed.
- Works best for framing and finish nailers.
Adjust the Contact Tip (If Your Gun Allows It)
- Check if your nail gun has an adjustable tip.
- If it does, move it slightly up or down to change the nail depth.
- Make sure everything is tight and secure before using the nail gun.
- This works on some older finish and framing nailers.
In summary, If no depth dial is available in your nailer gun then air pressure is your best alternative.
Best Practices for Consistent Nail Depth Adjustment
Set Air Pressure Correctly
- Use 70-90 PSI for brad/finish nailers.
- Use 90-120 PSI for framing nailers.
- Adjust in small increments for precision.
Maintain a Firm Grip & Consistent Angle
- Hold the nail gun steady and perpendicular to the surface.
- Avoid tilting, as it can change nail depth.
Test on Scrap Wood First
- Fire test nails before working on the final piece.
- Adjust depth as needed before starting the project.
Keep the Nail Gun Well-Maintained
- Clean the gun regularly.
- Oil pneumatic nailers as recommended.
- Check for worn-out parts that may affect depth control.
In summary, for consistent proper nail depth, match nail length and gauge and use a pressure regulator.
How Does Nail Depth Affect Different Materials?
Softwoods (Pine, Cedar, Plywood)
- Too deep: Nails sink too far and make the joint weaker.
- Too shallow: Nails don’t grip well which causes wobbly connections.
- Best approach: Use medium air pressure and test on scrap wood first.
Hardwoods (Oak, Maple, Walnut)
- Too deep: Wood can crack or the nail might go all the way through.
- Too shallow: Nails may not go all the way, making joints weak.
- Best approach: Use higher air pressure and pre-drill small holes if needed.
Drywall
- Too deep: Nails break through and make them useless.
- Too shallow: Nails don’t hold well which will lead you to weak attachment.
- Best approach: Use light pressure to keep the drywall intact.
MDF (Medium-Density Fiberboard)
- Too deep: The nail head disappears weakening the surface.
- Too shallow: Nails stick out, leaving a rough finish.
- Best approach: Set the nail gun to a controlled depth to avoid overdriving.
Metal & Concrete
- Too deep: Nails can bend or break against the hard surface.
- Too shallow: Nails won’t grip properly and can come loose.
- Best approach: Use a powerful nailer and the right type of nails.
Impact of Nail Depth on Nail Gun Performance and Safety
Nails Too Deep
Weaken the material. Can crack or break the wood. Reduce holding strength.
Nails Too Shallow
Won’t hold tight. Joints may be loose. Might need extra hammering.
Safety Risks
Nails can bounce back. Wood may split. Uneven surfaces can cause injuries.
Conclusion
Adjusting nail depth is simple but important. It helps nails penetrate correctly without damage. Follow these steps for a strong and clean finish.
Whether for DIY or big projects, proper depth makes work easier. Test on scrap wood first to get it right.
FAQs on How to Adjust The Nail Depth on Your Nail Gun
What is the recommended depth to set a nail?
Ans: The nail should be flush with the surface or slightly countersunk (1/16″–1/32″) for finish work.
How to adjust nail depth?
Ans: Use the depth adjustment dial (if available) or modify air pressure for pneumatic nailers. Increase depth by turning the dial clockwise or raising PSI. Decrease depth by turning counterclockwise or lowering PSI.
Why is my nail gun not deep enough?
Ans: Your nail gun may not drive nails deep enough. This can happen because of low air pressure, the wrong depth setting, or using the wrong size nails. Clean any jams and test on scrap wood for better results.