
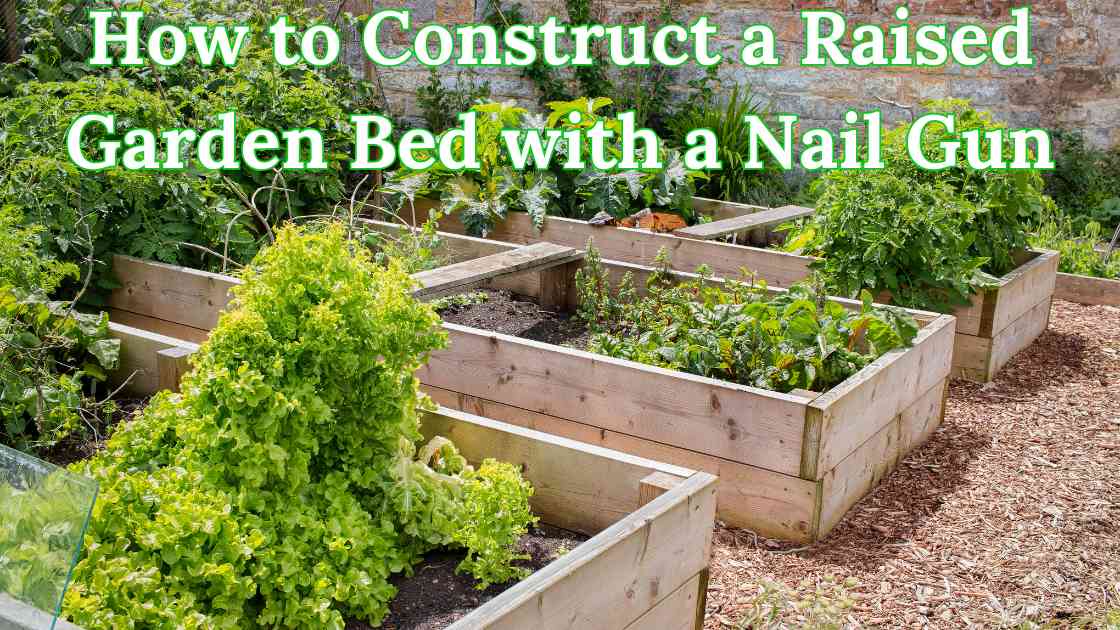
A raised garden bed is a good way to grow plants. It keeps the soil in one place. It helps plants grow better. It also makes the garden look neat.
You can build a raised bed in a short time. A nail gun makes the work easy. It joins the wood fast. It holds the frame strong.
You do not need to use screws. You do not need to use a hammer. This saves time and effort. Anyone can do this project. You only need a few tools.
Materials & Tools You’ll Need
Lumber (Cedar, Redwood, or Pressure-Treated Wood)
The type of wood you choose is very important. It affects how long your raised garden bed will last. Cedar and redwood are very strong. They do not rot easily.
They are great for organic gardening. Pressure-treated wood lasts even longer. But it has chemicals in it. Some people do not want to use it for growing food.
Nail Gun (Pneumatic or Battery-Powered)
A nail gun helps you build the garden bed faster. It makes the work easier. You do not have to use a hammer.
A pneumatic nail gun needs an air compressor to work. A battery-powered nail gun does not need an air compressor. It is easier to carry around.
Galvanized Nails (Rust-Resistant for Outdoor Use)
Ordinary nails can rust when they get wet. Rust makes nails weak. The frame of the garden bed can fall apart.
Galvanized nails have a special coating. The coating protects them from moisture. These nails last a long time. They keep the garden bed strong.
Measuring Tape & Pencil (For Accurate Cuts and Alignment)
It is important to cut the wood to the right size. A measuring tape helps you get the exact length.
A pencil lets you mark where to cut. This makes sure your pieces fit together well.
The raised bed will look neat and even.
Saw (Circular Saw or Handsaw for Cutting Lumber)
A saw is needed to cut the wood. A circular saw cuts very fast and clean. It makes smooth edges.
A handsaw is a good choice if you do not have a power saw.
Cutting the wood properly helps the bed stay strong. It also makes the frame look neat.
Level (To Ensure a Stable and Even Frame)
A raised garden bed should not sit on uneven ground. If it is not level, water will not drain properly. Some plants may not get enough water.
A level helps you check if the frame is straight. If it is not straight, you can fix the ground before adding soil.
Drill (Optional, for Pilot Holes if Needed)
A nail gun is enough for most of the work. But sometimes, wood can split when you put in nails.
A drill can help prevent this. You can use it to make small holes before nailing.
This keeps the wood from breaking. It is useful, especially at the corners.
How to Construct a Raised Garden Bed with a Nail Gun: Step-by-Step Process
Step 1: Choose the Perfect Location
Pick a flat spot in your yard. The area should get at least 6 to 8 hours of sunlight every day. Do not choose a place where water collects after rain.
Too much water can cause plant roots to rot. Mark the shape of your garden bed on the ground.
Use stakes and string to outline the space. This will help you see where to place the bed.
Step 2: Cut Your Lumber to Size
Measure the wooden boards carefully. Cut them to the size you need. Use a circular saw for quick and smooth cuts.
A handsaw also works if you do not have power tools. Many people choose to make a bed that is 4 feet by 8 feet.
You can make it bigger or smaller depending on your space. Sand the edges of the boards.
This removes rough spots and splinters. It makes the wood safer to handle.
Step 3: Assemble the Frame with a Nail Gun
Place the boards together to form a rectangle. Line up the corners at a 90-degree angle. Hold the boards in place.
Use a nail gun to attach them. Choose galvanized nails because they do not rust. Put at least two nails in each corner.
Check if the frame is straight with a square tool. Fix any mistakes before moving to the next step.
Step 4: Position and Level the Raised Bed
Move the finished frame to the marked area. Place it carefully on the ground. Use a level to check if it is even.
If one side is higher than the other, adjust it. Dig out small amounts of soil to make the bedsit flat.
A level surface helps plants grow evenly and prevents water from running off to one side.
Step 5: Secure the Bed to the Ground (If Necessary)
The bed might shift over time, especially in windy areas. To keep it in place, drive wooden stakes or metal rebar into the ground.
Place them inside the corners of the frame. Nail them to the wooden boards. This will hold the bed firmly in place. If your yard is on a slope, this step is very important.
Step 6: Line the Bottom (For Weed Control & Drainage)
Lay a layer of landscape fabric, cardboard, or wire mesh at the bottom of the bed. This stops weeds from growing inside the bed.
It also keeps pests like moles from digging through the soil. The material will still allow the water to drain properly. This keeps the soil healthy for plants.
Step 7: Fill with High-Quality Soil and Start Planting
Pour soil into the raised bed. Use a mix of topsoil, compost, and peat moss. This makes the soil rich in nutrients.
Smooth the surface with a rake. Water the soil lightly. This helps it settle before you plant.
Choose vegetables, herbs, or flowers that grow well in raised beds. Now, your garden is ready!
Why Choose a Nail Gun for Building a Raised Garden Bed?
Faster Construction Time
A nail gun helps you build a raised garden bed very fast. When you use a nail gun, you do not need to put in screws one by one.
You do not need to use a drill. You can join the wooden boards in just a few seconds. This saves time and effort.
Stronger and More Secure Joints
A nail gun pushes the nails deep into the wood. This makes the joints very strong.
The raised garden bed will stay firm and steady. It will not fall apart. The frame will stay strong, even when it is full of soil and plants.
Less Physical Effort Required
A hammer or a drill can make your hands tired. You need to use force when using them.
A nail gun does not need much effort. It is easy to use. This is helpful for beginners. It is also good for people who have weak hands.
Precision & Accuracy
A nail gun places nails exactly where they should go. This makes sure the boards stay straight.
It also makes sure the joints are in the right place. There is less chance of mistakes. The garden bed will look neat and well-built.
Reduced Risk of Wood Splitting
When you use screws, the wood can break. This happens more with softwood. It also happens with untreated wood.
A nail gun shoots nails into the wood quickly. This lowers the chance of the wood splitting.
Compatible with Various Wood Types
A nail gun works well with different kinds of wood. You can use it with cedar, redwood, or pressure-treated wood.
You just need to pick the right nail size and type. This makes sure the nails hold well in the wood.
Improved Aesthetic Appeal
The screws are big, and you can see them on the wood. They do not look nice. Nails are smaller.
A nail gun can push them deep into the wood. This makes the raised garden bed look smooth and neat.
Ideal for Large-Scale or Multiple Raised Beds
A nail gun is the best tool if you need to build more than one raised bed. It helps you build faster.
You do not have to spend too much time on each bed. This makes the work easier.
It also keeps all the garden beds looking the same.
Common Mistakes to Avoid When Building a Garden Bed Using Nailers
Using the Wrong Type of Nails
Some nails rust when they get wet. Rust makes nails weak over time. Weak nails can cause the garden bed to fall apart.
Always pick galvanized nails. These nails do not rust. Stainless steel nails are also a good choice.
They last a long time and keep the structure strong.
Choosing the Wrong Wood Type
Some types of wood do not last outside. Pine is a softwood. It rots fast when it gets wet. It is not a good choice for garden beds.
Cedar and redwood are better. These woods resist rot and insects. They stay strong for many years.
Pressure-treated wood is another option. It lasts a long time, but some types have chemicals.
If you want a natural garden, choose untreated wood.
Not Checking for Level Ground
A garden bed must sit on flat ground. If the ground is uneven, the bed will tilt. Water will collect in one area. Plants may not grow well in wet soil.
Always check the ground before placing the frame. Use a level to see if the surface is even.
If one side is too high, remove some soil. If one side is too low, add soil. A level surface keeps the bed stable.
Skipping Corner Reinforcements
The corners of a garden bed hold everything together. If they are weak, the bed can bend or collapse.
The weight of the soil can push the boards apart. To stop this, add extra support at the corners.
You can use wooden stakes, metal brackets, or extra nails. Strong corners keep the bed in shape for many years.
Not Considering Drainage
Plants do not grow well in wet soil. If water does not drain, roots will rot. The soil will also get hard, making it hard for roots to spread.
Choose a spot with good drainage. If the ground stays wet, add gravel under the bed.
Landscape fabric is also helpful. It lets water drain while keeping weeds out.
Failing to Secure the Bed to the Ground
A raised bed can move over time. Wind or loose soil can make it shift. If the bed moves, the soil may spill out.
This can hurt your plants. To stop this, secure the bed to the ground. Use wooden stakes or metal rods.
Push them into the soil inside the corners. Then, nail them to the frame. This keeps the bed in place.
My Final Words
Building a raised garden bed with a nail gun is easy and quick. It saves time and effort. The right tools and materials make the job smooth.
A nail gun helps you put the wood together fast and securely. It also makes the bed strong and stable.
When you follow the steps carefully, your garden bed will last a long time. You can grow many plants in it.
Make sure to choose the best location, use good materials, and check your work.
Start your garden today and enjoy growing fresh vegetables, herbs, and flowers in your new raised bed.
FAQs
Do I need to use a nail gun to build a raised garden bed?
Ans: No, you can build a raised garden bed with a hammer and nails or screws. But using a nail gun makes the job faster and easier. It saves time and effort.
Can I use any type of wood for my raised garden bed?
Ans: It is best to use strong and rot-resistant wood. Cedar, redwood, or pressure-treated lumber are great options. Softwoods like pine can rot quickly when exposed to the weather.
Should I reinforce the corners of my raised bed?
Ans: Yes, reinforcing the corners is a good idea. You can use extra stakes, brackets, or nails. This will make the bed stronger. It will also stop the bed from warping or collapsing under the weight of soil.
How do I make sure the raised bed is level?
Ans: Before you secure the frame, use a level to check the ground. Make sure the ground is even. If the ground is not level, add or remove soil until the bed is flat.
Is it necessary to secure the bed to the ground?
Ans: If you live in a windy area or have soft soil, it is a good idea to secure the bed to the ground. Use wooden stakes or metal rods to keep the bed in place.