
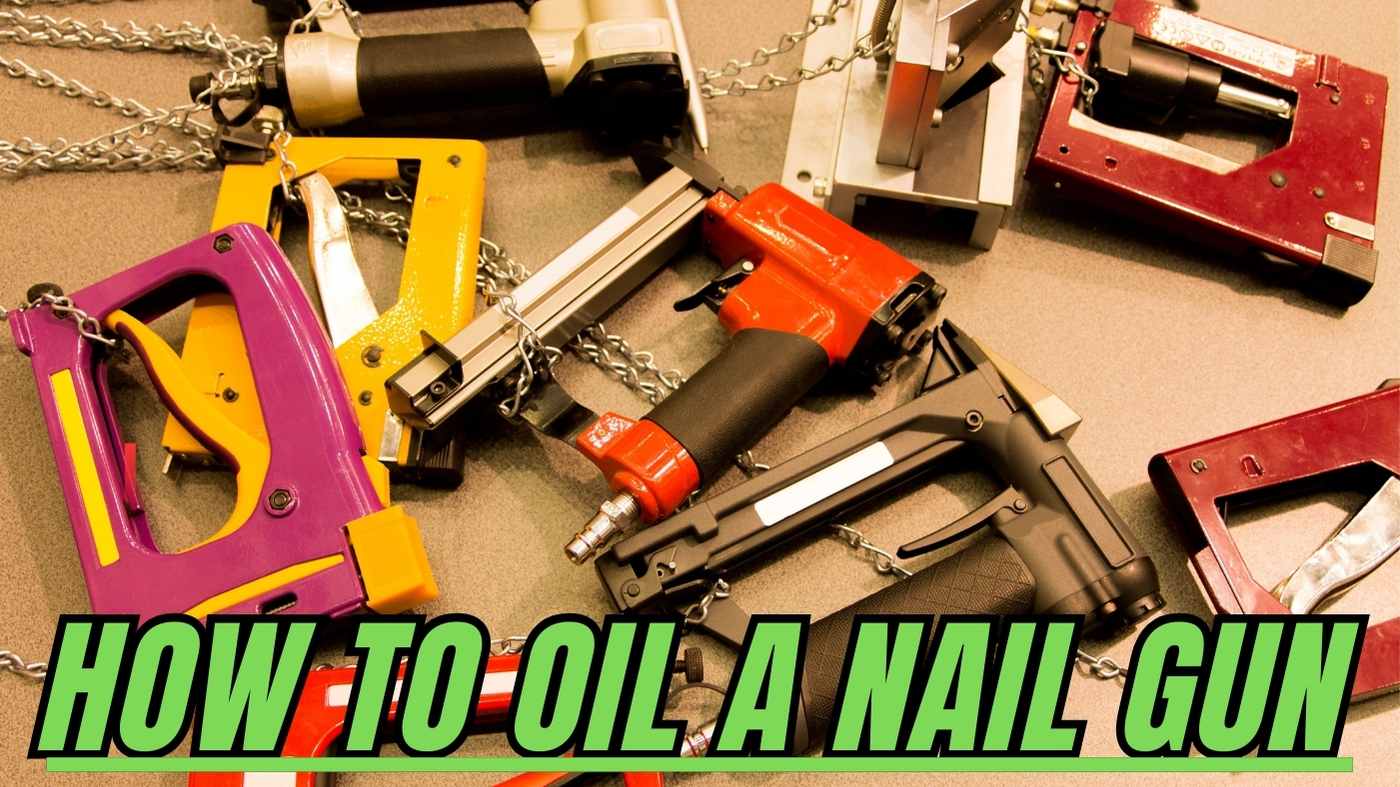
Nail guns come in various types. Some are electric, some are battery-powered, and some are pneumatic. Nail guns also differ in the need to oil them. There are oiled and oilless nail guns. Oiled nail guns need regular oiling. Only pneumatic nail guns required regular oiling. Other versions of nail guns do not require oiling.
Sometimes oiled nail guns misfire out of nowhere and beginner woodworkers assume their tool is broken. They don’t know enough about oiling a pneumatic nail gun. That’s why their project gets delayed. So, they need to learn how to oil a nail gun properly.
It takes a few minutes to oil a nail gun regularly, it’s not a big deal. But, it can make massive differences in how your tool performs. Not oiling your pneumatic nail guns regularly, can cause jams and slow performance. Even your tools may not last long.
I’ll describe to you the proper way of oiling a nail gun so that your tool works smoothly and lasts long.
Why Oiling a Nail Gun is Important
Prevents Friction
Oiling means lubricating your pneumatic nail gun. Lubrication reduces friction between moving parts. It prevents excessive wearing out of the parts and prolongs the life of the tool.
Keeps Seals & O-rings Functional
The seals need elasticity to prevent air leaks properly and with time the functionality of the seals often decreases. Oiling maintains the proper elasticity of the seals. So, the air leaks are prevented well.
Reduces Malfunctions
Lubrication ensures smooth operation. It also minimizes the risk of jams. So, the tools malfunction less.
Ensure Consistent Performance
Oiling your pneumatic nail gun makes nail firing reliable. It also helps maintain consistent air pressure.
Protects From Rust
When the parts of a pneumatic nail gun are not oiled, rust builds up on them and reduces the lifespan of the tool. Oil creates a barrier that prevents moisture from causing rust inside the tool.
Extends Lifespan
Routine oiling prevents friction and wearing out of the moving parts, keeps the seals and o-rings intact, reduces jams, and protects the parts from rust. That’s how the lifespan of the pneumatic nail gun prolongs.
How to Oil a Pneumatic Nail Gun
Oiling a nail gun is a simple process. It just takes maximum 2 minutes. But it may exceed in case of beginners or new users. But who oil a nail gun regularly takes 1-2 minutes.
Though nail gun oiling is a simple process, I have shared it to make the process easier to all types of users.
Disconnect the Air Supply
To ensure maximum safety during the oiling process, disconnect the air supply.
Inspect the Tool
Look for dirt, debris, and signs of damage in the pneumatic nail gun.
Apply Oil
Apply 2-3 drops of oil in the air intake port. The air intake port is where the air hose connects to the tool.
Reconnect & Test
Connect the air supply and run the tool so that the applied oil can be distributed evenly.
Wipe Excess Oil
If there is oil in the exterior part of the tool, clean it. It can cause slipping from hands while operating it.
Store Properly
Once you are done with oiling and testing if it runs properly, store in it a dry and safe location.
Signs a Pneumatic Nail Gun Needs Oiling
Frequent Jams or Misfires
If your pneumatic nail gun starts jamming or misfiring more often than usual, it’s a sign that the moving parts inside it are not lubricated. So, you have to oil it properly and the misfires will reduce in no time.
Decreased Power or Sluggish Operation
Lack of oil means the internal components are dried out and it can cause them to move less smoothly. This leads to reduced firing power and slow operation. Once you lubricate the nail gun well, it will start working smoothly and rapidly again.
Unusual Noises
Sometimes strange noises like grinding, and squeaking happen when working with a pneumatic nail gun. This indicates a lack of lubrication in the internal parts.
Air Leaks
If you notice air escaping from seals while operating your pneumatic nail gun, it can be a sign that the internal mechanism needs oiling.
Because less lubrication makes the seals that prevent air from leaking less functional.
Rough Trigger Action
When the triggers of the nail guns feel stiff or unresponsive, it might be due to a lack of lubrication. Lubricate your nail gun and feel the smoothness of its operation again.
Visible Wear & Tear
Dryness can cause scratches and rough spots on the moving parts of a nail gun. If you see anything like these, your pneumatic nail gun immediately needs lubrication.
How Often Should a Pneumatic Nail Gun Be Oiled?
Daily Use
Users who work with their pneumatic nail guns daily should oil the tool at least once a day.
After 8 Hours of Use
If you use your nail gun for 7-8 hours or more, lubricate after that extended usage for smooth operation.
Before Storage
When you’re going to store the nail gun, apply oil to protect the internal components from rusting.
Follow the Manufacturer’s Guide
Manufacturers provide guides with the nail gun. Follow the recommended oiling schedule on the guide.
Environmental Factors
If the pneumatic nail gun is used in humid or dusty conditions, it will require more frequent oiling.
Signs of Wear
If your pneumatic nail gun shows sluggishness, scratches, or rough spots this indicates the wearing of the internal components. In this case, increase the oiling frequency.
Types of Oils for a Pneumatic Nail Gun
Pneumatic Tool Oil
Lightweight and formulated Oil. It is good for preventing rust and gum buildup so it is the best oil for a nail gun.
Avoid Motor Oil
Motor oil is not suitable for pneumatic tools because it can degrade seals and increase the wearing of the internal parts.
Biodegradable Oil
Biodegradable oil is eco-friendly. It’s effective in protecting the tool.
Non-Detergent Oil
No-detergent oil is also effective in lubricating the pneumatic nail guns. It keeps the tool clean and doesn’t leave any residue.
Synthetic Oils
Synthetic oils are designed for high-performance tools. However, they are not always compatible with pneumatic nail guns.
Recommended Brands
Look for oil brands that are recommended for pneumatic nail guns like Marvel or Paslode.
Tools & Materials Needed While Oiling a Nail Gun
Pneumatic Tool Oil
You’ll need specially formulated pneumatic tool oil to work with your pneumatic nail gun.
Clean, Lint Free Cloth
It is essential to clean the dust, dirt, and debris accumulated in the nail gun before oiling it. A clean and lint-free cleaning cloth can prevent dirt and fibers from entering the tool during cleaning.
Air Compressors
You can use air compressors to blow out dust and moisture before oiling the pneumatic nail gun.
Small Brush
Small Brushes can help you clean the debris from hard-to-reach areas.
Protective Gloves
Keeps your hands clean and free of oil.
Safety Goggles
Oils can splash during the oiling process of the pneumatic nail gun. Safety goggles can protect your eyes from oil splashes and debris during the process.
Common Mistakes to Avoid When Oil a Nail Gun
Using the Wrong Oil
Oils that are not recommended for pneumatic tools, can damage the seals of the tools.
Over-Oiling the Tools
Sometimes beginner woodworkers over-oil their pneumatic nail gun. It can cause sticky buildup and can hinder the performance of the tool.
Skipping Cleaning
Before applying oil the pneumatic nail guns should be cleaned. Avoiding looking for debris and cleaning those before oiling can trap debris inside and reduce the lifespan of the tool in the long run.
Neglecting Air Supply Maintainance
Air supply maintenance of the pneumatic nail guns is important for drying out the moisture in the air compressor. Oiling the nail gun with moisture in that can damage the internal components.
Ignoring Manufacturer Guidelines
Lubricating pneumatic nail guns without reading the manufacturer guidelines provided with the tool can void warranties.
Not Testing After Oiling
Storing the nail gun immediately after oiling without testing it is wrong. Always ensure the tool operates properly after oiling it.
Troubleshooting After Oiling a Pneumatic Nail Gun
Check Oil Type
When you are done oiling, ensure again that you have used pneumatic tool-specific oil.
Inspect for Leaks
After oiling the pneumatic nail gun, you should confirm if the seals and connections are tight.
Adjust Air Pressure
Adjust the setting of your air compressor so that your tool operates properly again.
Clean Moving Parts
Inspect for any left debris because those can still cause damage even after oiling.
Test Operation
Firing few nails a to check the performance is an essential step after oiling your pneumatic nail gun.
What Happens if a Pneumatic Nail Gun is Not Oiled
Friction Increases
Not oiling your pneumatic nail guns means the internal components drying out. Dry moving parts cause more friction than lubricated moving parts. An increase in friction makes the internal components wear out in less time.
Rust Forms
Oiling makes moisture diminish from the parts of the tool. So, not oiling your tool properly can cause more and more moisture and as a result, you may find corroded internal parts.
Performance Declines
If you don’t oil your pneumatic nail gun religiously, it’ll surely become slower or jam frequently.
Air Leaks Develop
Dryness keeps the seals and o-rings from preventing air leaks properly. So, not oiling your pneumatic tools can wear out seals and cause air leaks.
Repairs Increase
Neglecting to oil your pneumatic nail gun regularly leads to costly fixes or repairs.
Tools Lifespan Shortens
Not oiling a nail gun regularly ultimately causes its durability and reliability to decrease.
Signs a Pneumatic Nail Gun is Over-Oiled
- Oil dripping from the tool.
- Sticky residue on the exterior of the tool.
- Inconsistency in performance.
- Contamination on air compressor.
- Difficulty Handling or slipping from hands.
- Increasing need for cleaning.
How to Oil Other Air Tools
Disconnect the Air Supply
Safety always comes first, so disconnect the tool from the air compressor to avoid accidents.
Clean the Tool Thoroughly
Wipe down the tool’s surface and clear out any debris in the moving parts before oiling. You can use a brush or compressed air to access tight areas.
Locate the Air Intake Port
Similar to a nail gun, most air tools have a designated port for air intake. Find out the intake tool before starting to apply oil.
Apply Pneumatic Oil
Add 2-3 drops of oil into the air intake port. Avoid using non-recommended oils because they can harm seals and internal components.
Reconnect and Operate
Connect the air supply of the tool and run it for a few seconds so that the oil gets distributed evenly.
Inspect and Store
Check the tool for any issues, wipe away access excess oil, and store it in a dry location.
Taking the time to oil your pneumatic nail gun is one of the easiest ways to keep it running smoothly and extend its life. It only takes a few minutes, but it can save you from misfires, jams, and the headache of dealing with a broken tool.
So, next time you’re about to start working on a project, make sure your nail gun is well-lubricated.
FAQs
Q: What kind of oil do you use in a pneumatic nail gun?
A: Use lightweight pneumatic tool oil. These oils are formulated to reduce wear, prevent rust, and keep the internal parts lubricated without leaving a sticky residue.
Q: How do you oil a nail gun?
A: To oil a nail gun, disconnect it from the air supply, clean the air intake port, and apply 2-3 drops of pneumatic tool oil into the air intake. After reconnecting, run the tool for a few seconds to distribute the oil evenly.
Q: How do you maintain a pneumatic nail gun?
A: Regularly clean the tool, oil it before and after use, inspect it for wear or damage, and check that the air pressure settings are correct.
Q: What kind of oil is pneumatic oil?
A: Pneumatic oil is a lightweight, non-detergent oil designed to lubricate air tools. It protects seals and internal components and prevents corrosion and debris buildup.
Q: Where do you oil a nail gun?
A: Oil is applied directly to the air intake port of air tools. For nail guns, this is where the air hose connects to the tool.
Q: Why does my pneumatic nail gun keep jamming?
A: Frequent jamming can be caused by insufficient lubrication, dirty components, or incorrect air pressure settings. Regular cleaning, oiling, and using compatible nails can prevent this issue.
Q: How often should I oil my pneumatic nail gun?
A: It’s best to oil your nail gun every day if you’re using it regularly, or at least after every 8 hours of continuous use. You should also oil it before storing it to keep.
Q: Can I use motor oil in my pneumatic nail gun?
A: No, motor oil is too thick for pneumatic tools and can damage seals and moving parts.
Q: How do I know if I’ve over-oiled my nail gun?
A: Over-oiling can cause oil to drip from vents or the air intake. It can leave a sticky residue on the tool. If this happens, wipe off the excess oil and reduce the number of drops next time.
Q: Can I use the same oil for all my pneumatic tools?
A: Yes, as long as the oil is designed for pneumatic tools, it should work for different tools like wrenches, staplers, and air drills.
Q: How do I clean my nail gun before oiling it?
A: Start by disconnecting the air supply. Use a clean cloth or brush to remove any dirt or debris. You can also use an air compressor to blow out dust from hard-to-reach parts before applying the oil.
Q: Can I use oil on my nail gun if it’s already clogged?
A: If your nail gun is clogged, it’s best to clean it thoroughly first. Oil will help once the tool is cleaned, but it won’t fix clogs caused by dirt or debris buildup.