
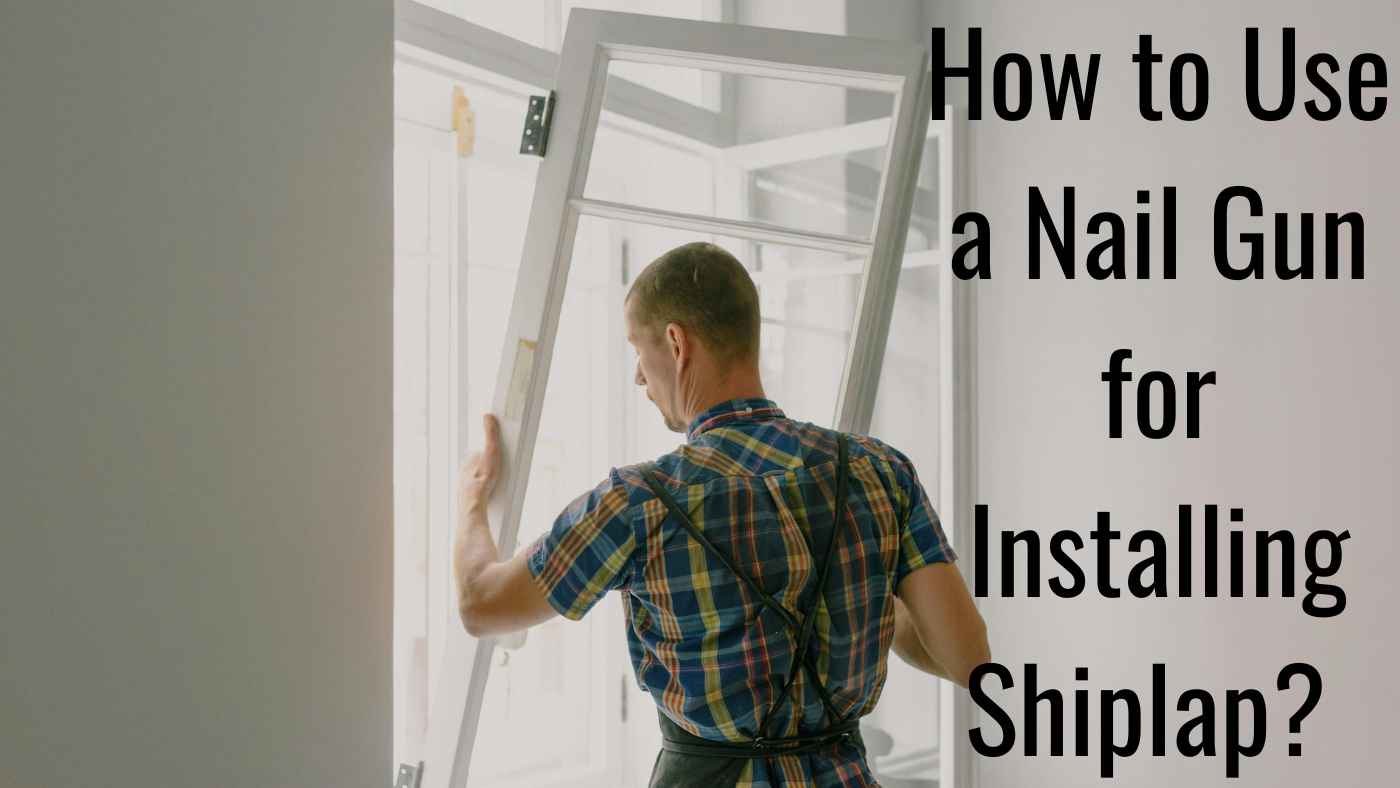
Installing a shiplap with a nail gun is a quick and easy way to update a room. It gives walls a clean and stylish look.
Many people like shiplap because it works in different home designs. It looks good in farmhouses, modern, and coastal homes.
A nail gun makes the installation process of shiplap simple. It helps attach the boards to the wall fast and securely. It is important to choose the right nail gun and nails.
This guide will explain each step of shiplap installation in detail. By following these steps, anyone can complete this project with confidence.
Step-by-Step Guide to Installing Shiplap with a Nail Gun
Gather Your Tools & Materials
You need the right tools before you start. Make sure you have all the tools that it takes to install shiplap properly.
Prepare the Installation Surface
You need to get the wall ready before attaching the shiplap.
- Remove old trim, baseboards, or outlet covers so the boards fit properly.
- If you are installing shiplap over drywall, use a stud finder to find the wall studs. Mark their positions with a pencil.
- The wall surface must be smooth and clean. If there are rough areas, sand them down to make the surface even.
Plan the Shiplap Layout
You need to decide how you want to install the shiplap.
- You can install it horizontally, vertically, or in a pattern like herringbone or chevron.
- If you install horizontally, start from the bottom and move up. This keeps the boards straight.
- If you install a shiplap on a ceiling, find the joists. The boards must be nailed into joists for a stronghold.
Cut and Dry-Fit the First Board
You must measure and check the first board before nailing it.
- Measure the space for the first shiplap board.
- Use a miter saw or circular saw to cut the board to the correct size.
- Hold the board against the wall to check if it fits properly. Do not nail it yet. Make sure the board is straight and even.
Secure the First Row with a Nail Gun
- You can now attach the first shiplap board.
- Hold the board level and flat against the wall.
- Nail into the wall studs every 16 inches for a stronghold.
Choose how to place the nails
- Blind nailing: Nails go in at an angle on the tongue of the board. This hides the nails for a cleaner look.
- Face nailing: Nails go directly through the front of the board. This makes the hold stronger. It is best for ceilings or thick boards.
Continue Installing Additional Boards
You must place the next boards correctly.
- Use spacers between the boards to make sure the gaps are the same size.
- Check the level of each board before nailing. If a board is not straight, adjust it before securing it.
Cutting Around Outlets and Fixtures
You may need to cut some boards to fit around objects.
- Measure the space where an outlet, switch, or vent will be.
- Mark the cut lines on the board with a pencil.
- Use a jigsaw or multi-tool to cut out the section before attaching the board to the wall.
Finishing Touches
The final steps will make the shiplap look polished.
- Fill nail holes with wood filler or paintable caulk.
- Apply caulk along the edges and corners to cover small gaps.
- If you want to paint or stain the shiplap, do it after the boards are installed.
Shiplap: Features & Uses
Distinctive Overlapping Design
Shiplap has a special design. The boards have edges that fit into each other. This overlap helps to make the boards fit tightly together.
It reduces gaps between the boards. The overlap also creates a nice shadow effect between the planks.
Material Versatility
Shiplap comes in different materials. The most common materials are wood, MDF, and PVC. Wood gives a rustic, natural look.
MDF is smooth and cheaper. PVC works well in damp places like bathrooms and kitchens because it resists moisture.
Horizontal and Vertical Installation
Shiplap can be installed in different ways. It is usually placed horizontally for a farmhouse look. But it can also be installed vertically.
Installing it vertically can make the room feel taller. You can also use patterns like chevron or herringbone for a more modern style.
Enhances Insulation and Durability
Shiplap’s design helps with insulation. The gaps between the boards trap air. This helps keep the room warm in winter and cool in summer. When installed on walls with insulation, it can also help block noise.
Easy to Paint, Stain, or Whitewash
Shiplap is easy to change. You can paint it, stain it, or whitewash it. This means you can match it to any style. You can give it a modern, clean look or a more rustic, natural appearance.
Cost-Effective Wall Covering Solution
Shiplap is cheaper than other wall treatments. Wallpaper or stone veneer can cost more. Shiplap made from MDF or plywood is an affordable option. It adds character to a space without breaking the bank.
Common in Modern Farmhouse and Coastal Designs
Shiplap is very popular in modern farmhouse designs. It is also used in coastal or cottage-style homes, giving these spaces a relaxed and light feeling.
The Growing Popularity of Shiplap in Home Décor
Shiplap Became Popular Through Home Renovation Shows
Many people first saw shiplap on home renovation TV shows. Shows like Fixer-Upper made it famous.
These shows used shiplap in farmhouses and modern designs. Homeowners saw how good it looked.
They wanted to use it in their own homes. Shiplap became a trend because of its warm and rustic style.
Looks Beautiful and Has a Classic Design
Shiplap makes walls look clean and stylish. It adds a soft texture to the room. It works well with many design styles.
People use it in farmhouses, coastal, industrial, and modern homes. It makes a space feel warm and welcoming. Many homeowners like it because it never goes out of style.
Cheaper Option Than Other Wall Treatments
Some wall treatments can be very expensive. Stone walls and paneling cost a lot of money. Wallpaper can also be costly.
Shiplap is much more affordable. It gives a high-end look without the high price.
People who want an even cheaper option can use plywood or MDF shiplap. These materials look good but cost less than real wood.
Can Be Used on Walls, Ceilings, and More
People use shiplap in many different areas of their homes. It is not just for walls. Some people install it on ceilings to add character.
Others use it for fireplace surrounds, kitchen backsplashes, and even furniture. Shiplap is flexible, so people can get creative with how they use it.
Easy to Install as a DIY Project
Many homeowners like DIY home projects. Shiplap is one of the easiest materials to install. It does not need complicated tools.
A person only needs a nail gun, a saw, and a level. This makes it a great choice for people who want to update their homes without hiring a contractor.
Makes a Room Look Bigger
Shiplap can change how a room looks. If installed horizontally, it makes the walls look wider. If installed vertically, it makes the ceilings look taller.
This trick works well in small rooms or low-ceiling spaces. It helps a room feel larger and more open.
What You Need Before Installing Shiplap
Choosing the Right Type of Shiplap
Shiplap comes in different types of materials. The most common materials are wood, MDF, and PVC. Solid wood gives a rustic, natural look.
MDF is smooth and affordable. PVC is a good choice for damp areas like bathrooms. Choose the material that works best for your room and style.
Selecting the Right Nail Gun
You need a nail gun for shiplap installation. A brad nailer (18-gauge) or a finish nailer (15- or 16-gauge) are the best choices.
Brad nailers leave small holes. Finish nailers hold the boards more strongly. You can choose between pneumatic nail guns, which use air, or cordless ones, which are more portable.
Proper Nail Size and Type
The nails you use for shiplap should be about 1.5 to 2 inches long. The nail length should match the thickness of the boards.
The nails should be the right size to secure the boards without splitting them or damaging the wood.
Essential Tools for Installation
In addition to a nail gun and nails, you need several other tools:
- A stud finder to locate the studs in the wall.
- A level to make sure the boards are aligned straight.
- A measuring tape to measure the boards and keep gaps even.
- A miter saw or circular saw to cut the boards to size.
- Spacers to maintain consistent gaps between the boards.
Prepping the Installation Surface
Before installing shiplap, make sure the wall or ceiling is clean and dry. Remove any old trim or baseboards if necessary.
If the wall is uneven, you can add a thin plywood backing to create a more stable surface for the shiplap.
Using Adhesive for Extra Hold
You can use construction adhesive like Liquid Nails to help hold the shiplap in place. This is especially useful if you are installing shiplap over drywall.
However, using adhesive makes it harder to remove the shiplap later, so think carefully before using it.
My Final Words
Installing a shiplap with a nail gun is a simple way to improve a room. It gives walls a clean and stylish look. A nail gun makes the process faster and easier. It helps attach the boards securely to the wall.
Each step is important for a good result. Choosing the right nail gun and nails is the first step. Measuring and cutting the boards correctly is also important. Nailing the boards in place needs care and attention.
Anyone can install Shiplap with the right tools and steps. This guide makes the process clear and easy to follow. A well-installed shiplap wall will last a long time. It will add beauty and value to the home.
FAQs
What type of nail gun should I use for installing the shiplap?
Ans: A brad nailer or a finish nailer is good for shiplap. A brad nailer is 18-gauge and makes small holes. A finish nailer is 16-gauge and holds the wood more strongly. Choose the one that works best for your project.
What size nails should I use for shiplap installation?
Ans: The nails should be between 1.5 inches and 2 inches long. They should go through the shiplap and into the studs. This will help keep the boards in place firmly.
Should I nail shiplap through the face or the tongue?
Ans: There are two ways to nail shiplap. Blind nailing means putting the nails in the tongue of the board. This hides the nails so they cannot be seen.
Face nailing means putting nails through the front of the board. This makes the hold stronger. It is better for ceilings because it keeps the boards from falling.
Can I install shiplap over drywall?
Ans: Yes, you can install shiplap over drywall. Use a stud finder to find the studs behind the wall. Nail the boards into the studs for the best hold.
If there are no studs, use both nails and adhesive to keep the boards secure.
Can I use shiplap in bathrooms or kitchens?
Ans: Yes, but you should use moisture-resistant materials. PVC or treated wood is better because it will not get damaged by water. You should also seal or paint the boards to protect them from moisture.