
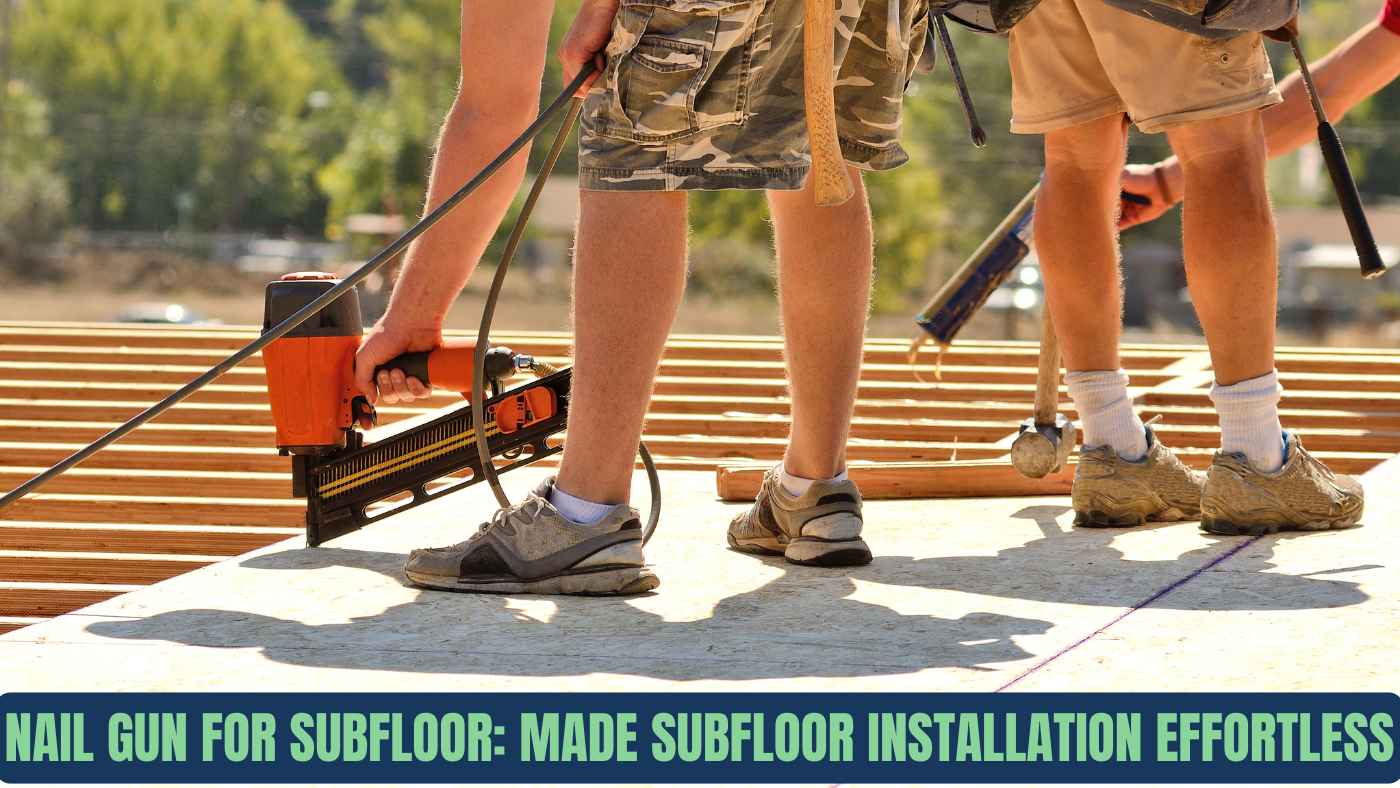
A nail gun is an important tool for subfloor installation. It makes the job faster and easier. It drives nails into the subfloor with precision. This helps attach the panels securely to the joists.
Using a nail gun also reduces the effort needed compared to a hammer. It is a great choice for both professionals and DIY enthusiasts.
Installing a subfloor requires strong and accurate fastening. A good subfloor gives support to the flooring above. It prevents squeaks and adds stability to the structure.
Choosing the right nail gun and nails is very important for the best results. This article will explain everything you need to know about using a nail gun for subfloor projects.
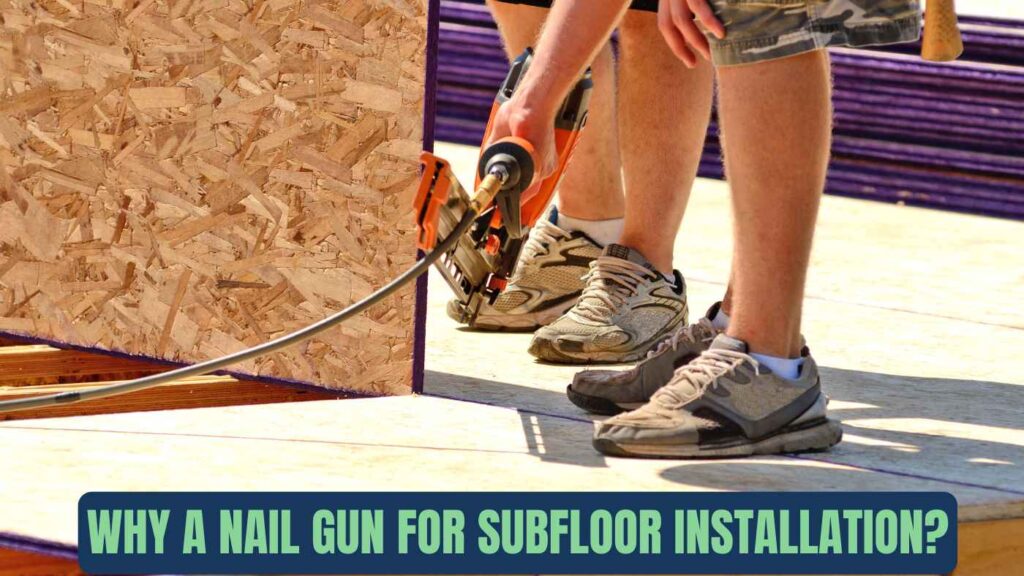
Why a Nail Gun for Subfloor Installation?
1. Speeds Up the Installation Process
A nail gun makes the installation process much faster than using a hammer or screws. It helps you to fasten subfloor panels quickly. This is especially helpful for big projects. It helps you finish the job in less time.
2. Ensures Consistent Nail Placement
Nail guns help place nails in the same spot every time. They also keep the spacing between the nails even.
This consistency is important for a smooth subfloor. It reduces the chances of weak spots that can cause movement or noise in the floor.
3. Reduces Physical Fatigue
Using a hammer for nailing takes a lot of effort, especially when you need to do it for a long time. A nail gun cuts down on the effort needed.
It reduces strain on your arms and wrists. This makes it easier to work on subfloor projects without getting too tired.
4. Offers Adjustable Depth Control
Most nail guns let you adjust how deep the nails go. This ensures that the nails go in just right.
The nails won’t be too shallow, which can cause instability. They also won’t be too deep, which can damage the subfloor material.
5. Improves Subfloor Stability
Using a nail gun helps create a strong and stable connection between the subfloor panels and joists.
This makes the subfloor less likely to shift or move. It also makes the subfloor better able to handle heavy loads and wear over time.
6. Works Well with Modern Construction Adhesives
When you use a nail gun with construction adhesives, it strengthens the subfloor even more. The quick action of the nail gun helps the adhesive bond properly.
This prevents panels from shifting while the glue sets. This combination helps avoid creaks and squeaks on the floor.
7. Reduces the Risk of Damage to Subfloor Panels
A nail gun reduces the risk of damaging the subfloor. Using a hammer can crack or split the panels, especially if you hit them too hard.
The nail gun gives you better control, so the panels stay in good condition.
8. Provides Versatility for Various Subfloor Materials
Nail guns work well with different types of subfloor materials, like plywood, OSB, and particleboard. They can also handle different sizes and types of nails.
This makes them a good choice for many different subflooring projects.
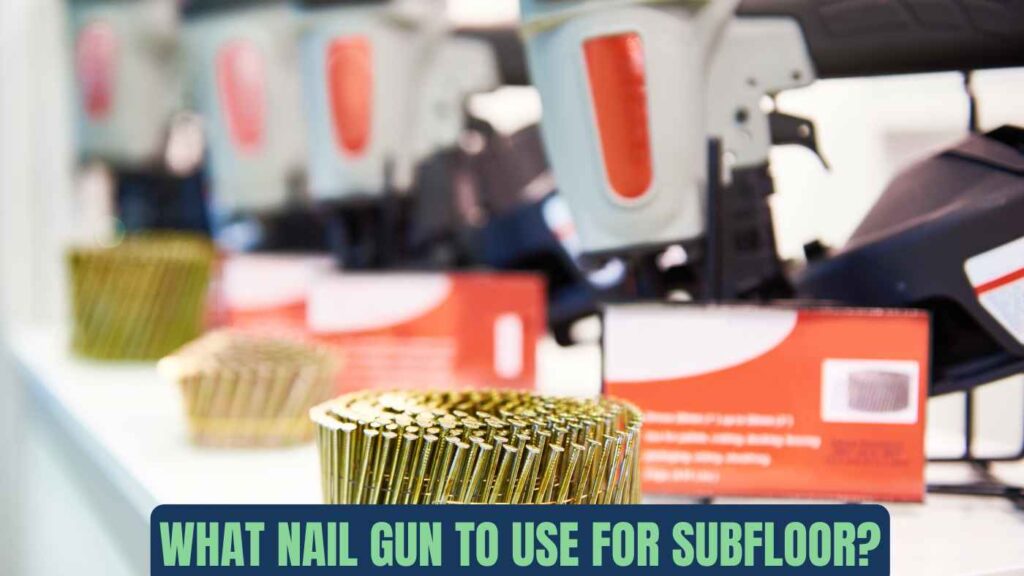
What Nail Gun to Use for Subfloor?
1. Pneumatic Nail Guns
Pneumatic nail guns are powered by compressed air. They are good for heavy-duty subfloor work. These guns provide strong power.
This makes them great for driving nails into thick subfloor materials like plywood or OSB. Many professionals prefer these guns for large projects.
2. Cordless Nail Guns
Cordless nail guns are powered by batteries. They are easy to use and offer great mobility. You do not need an air compressor or hoses with these guns.
This makes them good for DIYers or projects in places with no power sources. They may be less powerful than pneumatic nail guns but still work well for most subfloor jobs.
3. Framing Nail Guns
Framing nail guns are great for subfloor work because they can handle large nails, like 3-inch framing nails. These guns are strong and flexible.
They are used to attach subfloors to joists in construction or renovation projects.
4. Coil Nail Guns
Coil nail guns use coiled strips of nails. This allows you to work longer without having to reload the nails.
This feature is very helpful for subfloor projects that require many nails. The coil design also makes the gun easy to move around in small spaces.
5. Electric Nail Guns
Electric nail guns are light and work well for smaller subfloor projects. These guns are not as strong as pneumatic or cordless models.
However, they are cheaper and great for DIYers who are working on smaller tasks.
Key Features to Look for in a Subfloor Nail Gun
1. Adjustable Depth Control
A nail gun with adjustable depth control helps ensure that nails are driven at the right depth. It prevents nails from going too deep or not deep enough.
This feature is very important for keeping the subfloor stable and preventing damage to the materials.
2. Compatibility with Various Nail Sizes
Make sure the nail gun can use different nail sizes. For subfloors, ring-shank nails are common, so the gun should handle them.
This flexibility allows you to work with different materials and project needs more easily.
3. High Magazine Capacity
A nail gun with a large magazine can hold more nails. This means you won’t need to reload as often.
A high magazine capacity is especially helpful for big subfloor projects. Coil nail guns are known for having a larger magazine, which is an advantage for these types of jobs.
4. Lightweight and Ergonomic Design
A nail gun that is light and balanced is easier to use for long periods. It will reduce tiredness and strain.
An ergonomic grip makes the gun more comfortable to hold and gives you better control. This is especially helpful for tough subfloor jobs.
5. Jam Clearing Mechanism
A good nail gun should have a feature to clear nail jams quickly. This will help you continue working without wasting time.
A reliable jam-clearing system is helpful for time-sensitive subfloor projects where you need to keep moving quickly.
6. Power Source Options
Choose a nail gun with a power source that fits your needs. Pneumatic guns give strong, steady power for tough jobs.
Cordless guns are easier to use and don’t need an air compressor. They are great for DIY projects or places without power.
7. Sequential or Bump Firing Modes
Having both firing modes, sequential and bump gives you more options. Sequential firing is best for careful, precise tasks.
Bump firing lets you work faster when you need to cover larger subfloor areas quickly.
Tips for Proper Nailing down Subfloor with a Subfloor Nailer
1. Ensure Accurate Subfloor Nail Spacing
It is important to keep the nails spaced correctly. Typically, place nails 6 to 8 inches apart along the edges of the panel.
For the middle of the panel, space the nails 8 to 12 inches apart. Evenly spaced nails help keep the subfloor strong and stable. They also help spread out the weight evenly.
2. Choose the Best Nails for Subfloor
Picking the right nails is very important for subfloor installation. Use nails that are made for subfloors. Ring-shank or spiral nails work best.
These nails have a better grip and hold the subfloor firmly in place. They also help prevent the nails from pulling out over time
3. Adjust the Nail Gun Depth Control
Before starting, always adjust the depth control on the nail gun. Set it so the nails go in the right depth. The nails should be flush with the surface of the subfloor, not too deep or too shallow.
If the nails go too deep, they can weaken the subfloor. If they don’t go deep enough, the nails will stick out.
4. Stagger Panel Seams for Strength
When placing subfloor panels, make sure the seams between the panels are staggered.
This means the edges of the panels should not line up with each other. Staggering the seams helps make the subfloor stronger.
5. Secure the Panels to Every Joist
Make sure to fasten each panel to every joist beneath it. If you miss a joist, it will create weak spots in the subfloor.
These weak spots can cause the subfloor to shift or become unstable. Fastening each panel properly ensures that the subfloor is solid and won’t squeak.
6. Use Proper Safety Gear
Always wear safety gear when using a nail gun. Safety goggles will protect your eyes from flying debris. Hearing protection is important because the nail gun can be loud.
It is also a good idea to wear gloves and steel-toe boots to protect yourself in case the tool misfires.
7. Start from the Center & Work Outward
Begin installing the subfloor panels from the center and work your way outward to the edges. This method helps avoid bending or warping the panels.
It also ensures that the pressure is spread evenly as you secure the subfloor, which helps prevent gaps or uneven spots.
8. Double Check the Subfloor’s Level & Alignment
Before you start securing the panels, check that the subfloor framing is level and straight. If the framing is not level, the subfloor will be uneven.
This can cause problems when installing the finished floor. Use a level to make sure the subfloor is aligned properly and ready for flooring.
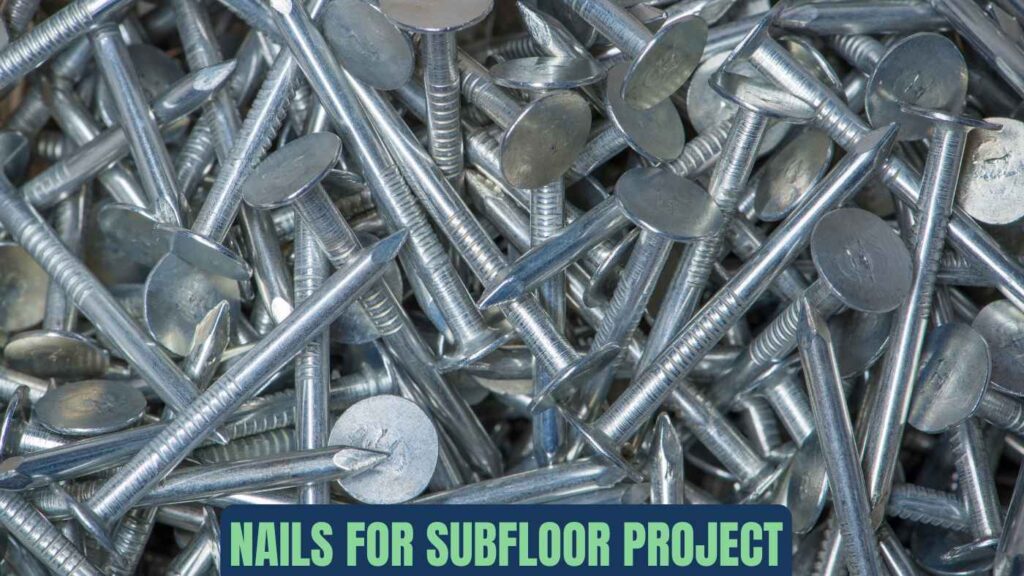
Nails for Subfloor Project
1. Standard Nail Length for Subflooring
For most subflooring jobs, nails that are 2-1/2 to 3 inches long are the best choice.
This size helps the nails go through the subfloor material, like plywood or OSB, and into the floor joists below. This makes the connection strong and secure.
2. Ring Shank Nails for Stronger Grip
Ring-shank nails are often used for subflooring because they have a better grip. The rings on the nail help keep it from pulling out over time.
This is important because subfloors take a lot of weight and pressure.
3. Spiral Nails for Added Holding Power
Spiral nails have a corkscrew shape. This shape helps them hold better. These nails are great for securing subfloor panels to the joists. They prevent movement or squeaks on the floor.
4. Galvanized Nails for Moisture Resistance
If your subfloor is in a moist area, like a basement or bathroom, use galvanized nails.
These nails have a special coating that keeps them from rusting. This helps the subfloor last longer, even in damp areas.
5. Flat-Head Nails for Even Pressure Distribution
Flat-head nails are commonly used for subflooring because they spread the pressure more evenly.
This prevents the nails from damaging the subfloor panels. They also make sure the panels are securely attached to the joists.
6. Coil Nails for High Capacity Use
Coil nails are great for large subfloor projects. They come in coils, so you can use many nails without reloading the gun often. This makes the installation process faster.
7. T Head Nails for Enhanced Holding Power
T-head nails are sometimes used for areas that need extra strength, like near the edges of subfloor panels.
The T-shape gives the nail more resistance to being pulled out. This helps secure the subfloor in areas with high stress.
Nails vs Screws for Subfloor: Which Is Better
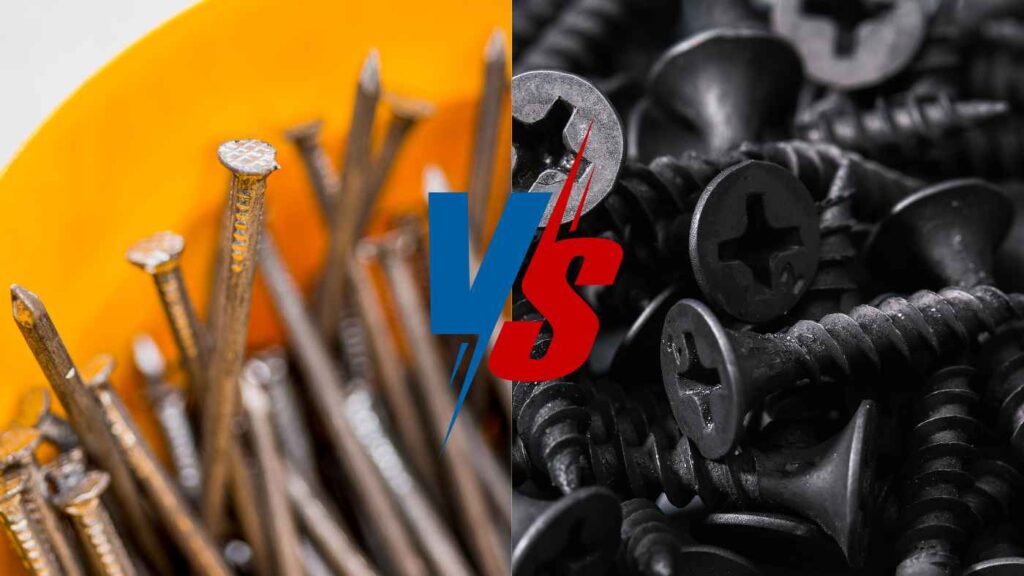
1. Speed of Installation
Nails are quicker to install than screws. You can use a nail gun to speed up the process. This makes nails a good choice for large subfloor projects.
Screws take more time to install. You need a power drill to make it faster.
2. Holding Power
Screws are stronger than nails. The threads on the screws make them stay in place better. This makes screws a good choice in areas with a lot of moisture or heavy foot traffic.
Nails are strong but may loosen over time, especially if not driven incorrectly.
3. Flexibility in Movement
Nails allow slight movement in the subfloor. This can be helpful in places where the material may expand or contract, like in wet areas.
Screws are tighter and prevent this movement. This can cause damage to the subfloor or the floor above it.
4. Ease of Removal
Screws are easier to remove than nails. If you need to replace or adjust the subfloor, screws make it easier. Nails are harder to take out. Removing them can damage the subfloor or surrounding areas.
5. Cost Effectiveness
Nails are cheaper than screws. This can be important if you have a limited budget for your subflooring project.
For larger jobs, using nails can save you money. Screws cost more, which can add up in big projects.
6. Potential for Damage
Screws cause less damage to the subfloor. They can be driven in more precisely, reducing the risk of splitting the wood.
Nails can damage the subfloor, especially if they are over-driven. This can cause the wood to split, especially in thinner materials like plywood.
7. Strength in High Traffic Areas
In areas with heavy foot traffic, screws are stronger. They hold the subfloor better in these busy spots. Nails may loosen over time, leading to creaking or an unstable floor in these areas.
8. Ease of Use and Tool Compatibility
Nails are easier to use with a nail gun. A nail gun is the best tool for subfloor installation. Screws need a power drill or impact driver. While screws are stronger, they are less convenient for large, fast-paced projects.
Common Mistakes to Avoid While Nailing Subfloor
1. Using the Wrong Nail Size
Choosing nails that are too short or too long can damage the subfloor. Nails that are too short will not hold the panels securely.
Nails that are too long could cause damage to the material. Always choose nails that are the correct length for the thickness of the panels and joists.
2. Failing to Stagger Panel Seams
Aligning the seams of the subfloor panels creates weak points. These weak spots can cause the floor to shift or squeak.
Staggering the seams helps spread stress evenly across the subfloor. This method makes the subfloor stronger and more stable.
3. Not Pre drilling Nail Holes in Hardwoods
Hardwood subfloors need pre-drilled holes to avoid splitting when nails are driven in. Without pilot holes, the nails may not go in properly, or they may damage the panels.
Always drill small holes before nailing in hardwood subfloors.
4. Installing Subflooring on Uneven Joists
If the floor joists are not aligned or are uneven, the subfloor will not be stable. The panels may shift or sag over time.
Always check that the joists are level and aligned before you begin. Properly aligned joists will make sure the subfloor stays stable and secure for a long time.
5. Skipping Adhesive Application
While nails hold the subfloor in place, adhesive makes it more stable. Adhesive prevents the panels from moving, especially in areas with heavy foot traffic.
Skipping the adhesive can lead to unwanted movement, which can cause squeaks or other issues. Always apply adhesive to improve the overall strength of the subfloor.
6. Overlooking Moisture Protection
Moisture can damage the subfloor over time. If the panels are not sealed properly, they may swell, warp, or rot.
Always check the moisture levels in your work area, especially in places like basements or kitchens. Protecting the subfloor from moisture helps prevent future damage.
7. Ignoring Manufacturer Guidelines
Each type of subfloor material and nail gun has specific instructions. Not following the manufacturer’s guidelines can cause problems during installation.
It can also affect the subfloor’s strength and durability. Always read and follow the instructions from the manufacturer to make sure the job is done correctly.
FAQs
1. What kind of nails for subfloor is the best?
Ans: The best nails for subfloor installation are ring-shank nails or spiral shank nails. These nails hold very well because of the ridges on their shank.
They stay in place and do not loosen easily. Galvanized nails are also a good option, especially in areas with moisture.
2. What size nails for 3/4 plywood subfloor?
Ans: For a 3/4-inch subfloor, 2-1/2-inch nails are a good size. These nails are long enough to go through the subfloor and into the joists. This creates a strong and secure hold.
3. Should subfloor be nailed or screwed?
Ans: You can use either nails or screws for subflooring:
Nails are quicker to install and cost less. Ring shank nails are the best type because they grip tightly.
Screws hold more securely and do not loosen over time. They are better for high traffic areas or places with moisture.
4. What should be the criteria for subfloor nail spacing?
Ans: Nails should be spaced about 6 to 8 inches apart along the edges of the subfloor panel. In the center, they should be spaced about 10 to 12 inches apart.
This spacing keeps the subfloor securely attached to the joists.
5. Can I use a brad nailer for subflooring?
Ans: No, a brad nailer is not suitable for subflooring. Brad nails are small and do not hold well enough for this kind of work. You should use a framing nailer or a coil siding nailer instead.
6. What is the purpose of a moisture barrier under subflooring?
Ans: A moisture barrier keeps moisture from reaching the subfloor. It stops water from coming up from the ground or leaking into the subfloor. This prevents swelling, warping, and mold.
7. Is construction adhesive necessary for subflooring?
Ans: Construction adhesive is not required, but it is very helpful. It makes the subfloor stick to the joists. This reduces movement and stops squeaking.
You should apply adhesive to the top of the joists before placing the subfloor panels.
8. Can I use a cordless nail gun for subflooring?
Ans: Yes, you can use a cordless nail gun for subflooring. Cordless nail guns are convenient for DIY projects or places where using a compressor is hard.