It was the year 2020. I was relatively new to the field of woodworking. I had just bought a pneumatic nail gun and was excited to use it. Avoiding the manual and skipping proper training, I started tackling a fencing project in my backyard.
I was holding the fence panels with one hand and the nail gun in the other. I had also switched to bump mode, not realizing that operating a pneumatic nail gun in bump mode requires maintaining a proper holding angle. Moreover, I was standing on uneven ground, and as a result, the nail gun misfired
Nail gun injuries like this occur almost every year. Overconfidence among experienced users, lack of training for beginners, and a lack of a “safety” mindset are the main reasons behind nail gun accidents.
Now, I am conscious of following nail gun safety mechanisms. In this article, I will share my knowledge about nail gun safety tips based on my personal experiences.
Why Nail Gun Safety Matters
Nail guns come in various types, requiring proper training for use and maintenance. Nail guns have trigger mechanisms that can be sequential, contact, or dual-action. They can also have coiled or straight magazines. Compressors must be well-understood before using a nail gun to ensure maximum safety.
Most nail guns have built-in safeguards. Additionally, different nail gun models are designed for specific tasks. There is a lot to consider to ensure safety when using a nail gun.
Safety Features on All Types of Nail Guns
Framing Nail Guns
Use: Heavy-duty construction tasks like framing walls, building decks, or roofing.
Safety Features:
- Sequential triggers
- Adjustable nail depth
- Protective guards
Brad Nail Guns
Use: Precision tasks such as attaching trims, moldings, or delicate woodwork.
Safety Features:
- Lockout mechanisms
- Lightweight designs
- Rubber grips
Finish Nail Guns
Use: Installing cabinets, baseboards, or crown moldings.
Safety Features:
- Adjustable exhaust port
- No-mar tips
- Sequential firing modes
Roofing Nail Guns
Use: Installing shingles, siding and roofing materials.
Safety Features:
- Adjustable shingle guides
- Skid pads
- Trigger lock
Flooring Nail Guns
Use: Securing hardwood or engineered flooring to subfloors.
Safety Features:
- Mallet-activated firing
- Protective base plates
- Ergonomic handles
Palm Nail Guns
Use: Compact tasks like driving nails into tight corners.
Safety Features:
- Pressure-activated trigger
- Compact size
- Low-vibration design
Staple Guns
Use: Attaching fabrics, thin materials, or lightweight trim.
Safety Features:
- Manual override
- Depth control adjustment
- Safety contact tips
Pneumatic Nail Guns
Use: High-volume tasks like framing, flooring, and siding.
Safety Features:
- Air pressure regulator
- Quick-release mechanism
- Rubber safety trigger guard
Cordless Nail Guns
Use: Tasks in locations where air compressors or cables are impractical.
Safety Features:
- Battery lockout
- Overheat protection
- Single-nail mode
Pin Nail Guns
Use: Fine woodworking and tasks requiring minimal nail holes, such as delicate trim work or cabinetry.
Safety Features:
- Anti-dry fire mechanism
- Precision tip
- Ergonomic trigger
Electric Nail Guns
Use: Electric nail guns work by the power of electricity, they are often used for light-duty tasks like trim work, baseboards, or securing insulation.
Safety Features:
- Dual safety switches
- Electric brakes
- Cordless option
Proper Handling and Operations for Nail Guns
Correct handling ensures safety and efficiency when using nail guns. Always hold a nail gun with both hands for maximum control.
To avoid misfires and kickbacks, hold the nail gun perpendicular to the surface. Never keep your finger on the trigger unless you are ready to fire, and avoid rushing.
Another important step is to test the nail gun before starting your work. Additionally, ensure you stand in a balanced position to counter unexpected movements.
Lastly, always disconnect the power source and unload the nails when you finish your job.
Maintenance and Inspection of a Nail Gun
Proper inspection and maintenance increase the lifespan of a nail gun. Here are some key points:
- Nail guns should be cleaned after every use to prevent debris accumulation.
- Regularly check for cracks or loose screws.
- Before each use, ensure the trigger mechanism and safety lock are functioning properly.
- Lubricate the moving parts with recommended lubricants to keep them working smoothly.
- Never delay replacing damaged parts like O-rings, springs, etc.
- For pneumatic nail guns, check if the air pressure is set correctly to prevent overloading.
- Finally, store your nail guns properly and schedule expert inspections.
Importance of Personal Protective Equipment (PPE) when using a nail gun
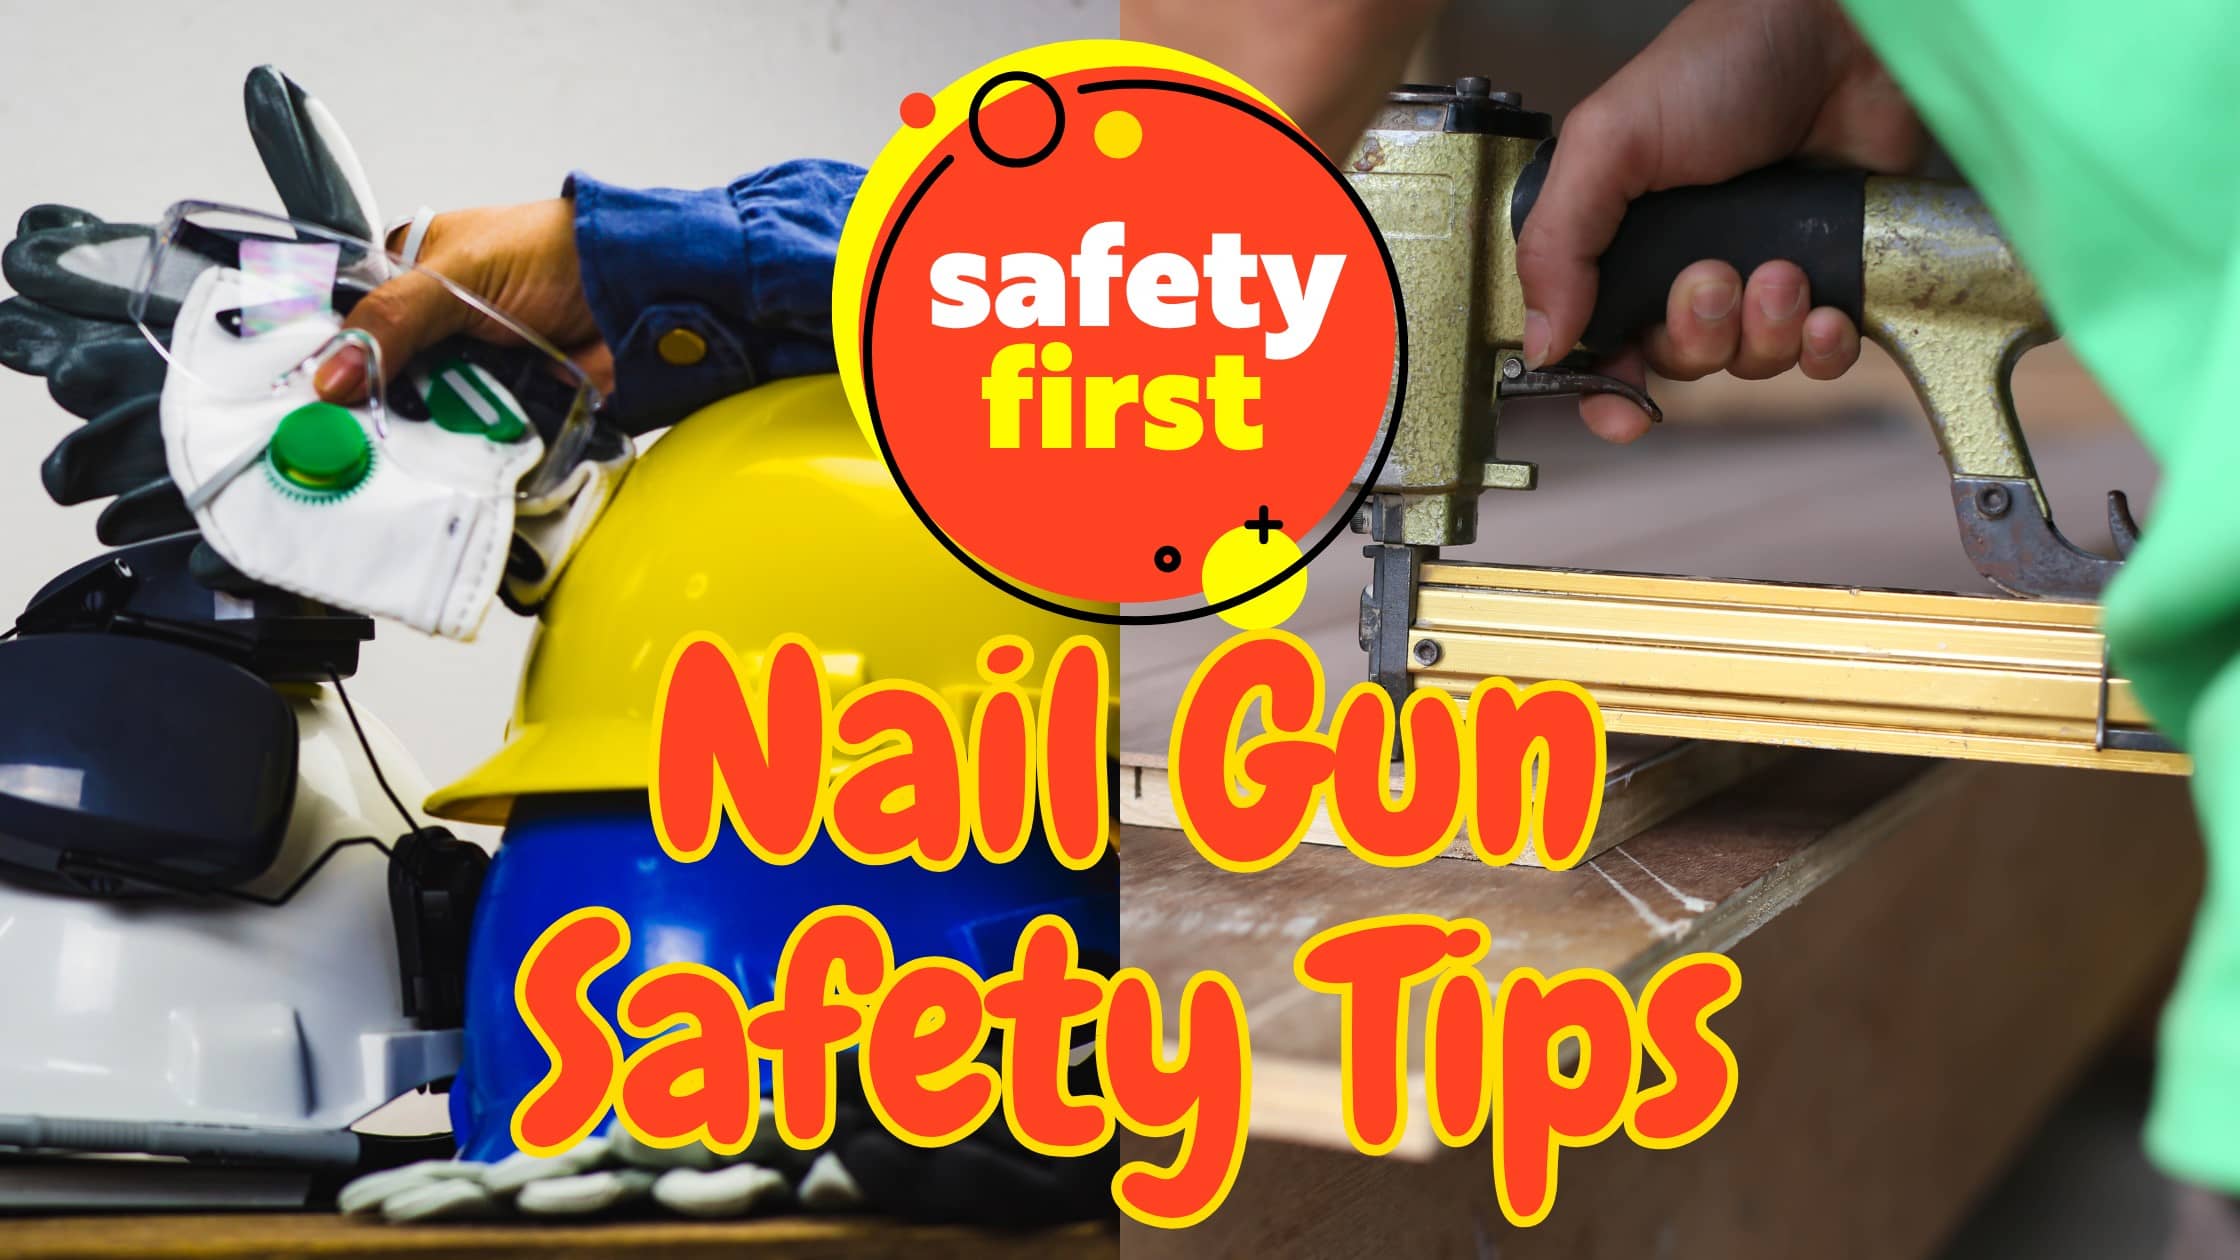
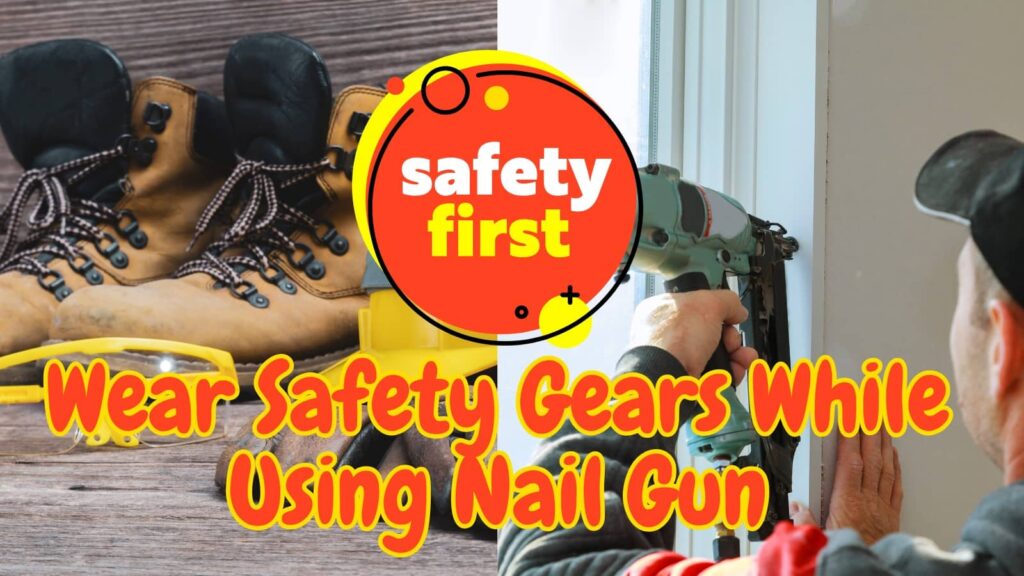
Wearing PPE is non-negotiable when using a nail gun. PPE includes:
Safety Goggles

Essential for protecting your eyes while working with a nail gun. You can use ANSI-approved safety goggles. Such as:
- 3M Virtua Safety Glasses: Affordable and lightweight.
- Uvex by Honeywell Genesis: Durable with anti-fog and UV protection.
- Pyramex Safety Goggles: Wraparound design with anti-scratch lenses.
Gloves

Use gloves made of materials suitable for your project. Top recommended gloves for nail gun work include:
- Mechanix Wear Original Gloves: Flexible, durable, and provide a good grip.
- Ironclad General Utility Gloves: Features padded palms and adjustable closures.
- Maxiflex Cut-Resistant Gloves: Lightweight and perfect for precision work.
- CLC Handyman Flex Grip Gloves: Affordable and versatile.
Steel-Toed Boots
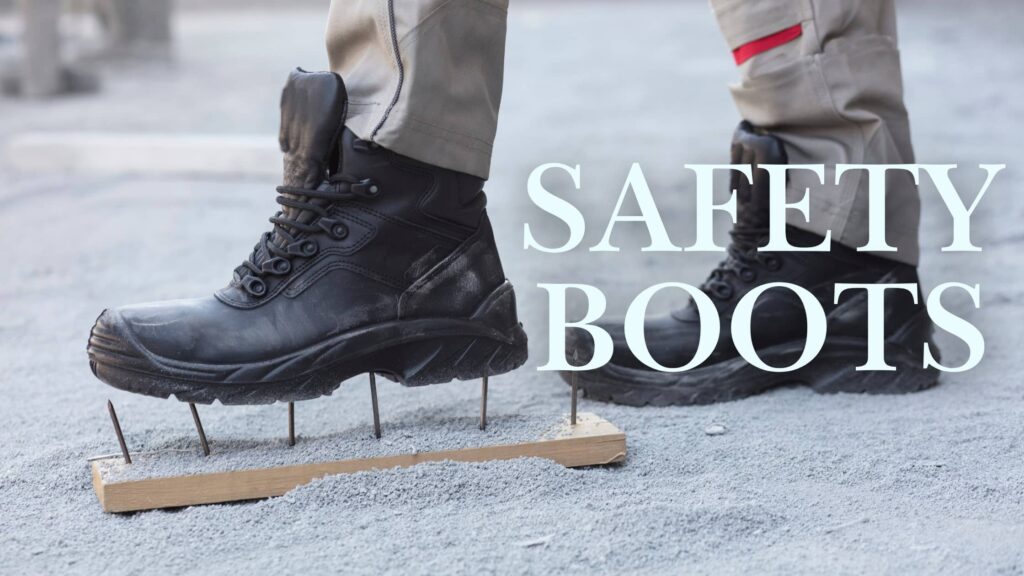
Steel-toed boots are well-designed and essential for specific types of work. Popular options include:
- Timberland PRO Pit Boss: Steel-toe protection and slip-resistant.
- KEEN Utility Pittsburgh: Features steel-toe protection, waterproof materials, and a rugged slip-resistant sole.
- Thorogood American Heritage: Stylish yet versatile, with a shock-absorbing insole and steel toe.
Hearing Protection

Some nail gun models are loud enough to damage hearing if used without proper protection for extended periods.
Dust Masks
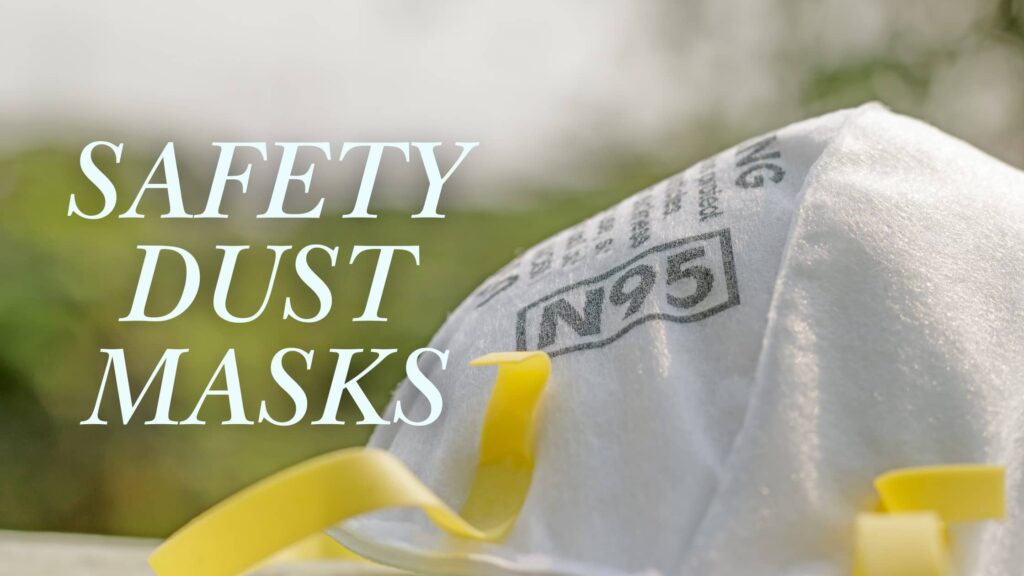
Prevent inhalation of dust, which can harm your lungs.
Long-Sleeved Clothing

Shields your arms from debris and accidental contact.
Hard Hats

If you’re working on elevated surfaces or construction sites, a hard hat is a must. It protects your head from falling objects, including nails or debris.
The Cost of Neglecting Nail Gun Safety
Neglecting to read the user manual or maintaining a proper routine for nail guns increases the risk of personal injury. Accidents can lead to lost productivity and project delays.
It is not rare when children to roam around to get hurt while parents are working with nailers. This should be a serious concern for those who have children but neglect safety during nail gun operations. They should give the idea of childproofing their tools and workplace a thought.
Ignoring safety measures may also result in legal consequences and liability. The emotional and psychological stress experienced by victims is immeasurable.
Additionally, neglecting safety can cause accidents that harm business opportunities and damage reputation.
Emergency Response Tips if an Accident Occurs
- Stop working immediately.
- Assess the injury to determine its severity.
- Apply pressure with a clean cloth to stop bleeding.
- Do not remove an embedded nail; wait for medical professionals.
- Call emergency services.
- Provide first aid.
- Stay calm.
Innovations in Nail Gun Safety Features Technology
Nail guns are significantly advanced in terms of safety features and technology. One major innovation is the development of more sophisticated safety triggers.
Modern nail guns feature sequential and contact triggers that reduce misfires. Kickback, a common issue that can cause injuries, is now mitigated by improved tool design.
Newer nail guns often include automatic dry-fire protection, which detects when the nail magazine is empty.
To enhance user comfort and prevent strain, manufacturers have introduced anti-vibration technology and ergonomic handles.
Additional features like pressure adjustment, safety sensors, alarms, and jam-clearing mechanisms further ensure safe usage.
Moreover, some nail guns now offer wireless connectivity and built-in anti-drop technology, making their use and maintenance more convenient.
The Role of Training in Workplace Safety

Proper training is essential for ensuring nail gun safety in workplaces. Nail gun safety training should include:
- Understanding the mechanisms of each nail gun
- Learning to use trigger types to reduce injuries
- Practicing handling techniques to build confidence
- Utilizing safety features effectively
- Tackling real-world scenarios to prepare for challenges
- Following OSHA or workplace safety guidelines
- Handling nail gun-related accidents promptly
- Staying updated on the latest tools and safety protocols
Preventing Misfires
Misfires are one of the most common causes of nail gun injuries but can be avoided by:
- Ensuring nails are properly aligned in the magazine to prevent jams.
- Clearing the nosepiece before starting.
- Avoiding pressing the trigger too quickly to prevent multiple nails from firing at once.
- Using the recommended air pressure for pneumatic nail guns.
- Steadily holding the tool while firing.
- Ensuring the contact tip is functioning properly and not worn down.
- Take time to align the tool with the surface before firing.
- Replacing old or bent nails to avoid feeding issues.
Avoiding Nail Gun Kickback
Kickback is another common cause of nail gun injuries. To avoid it:
- Use both hands to hold the tool firmly.
- Keep the nail gun perpendicular to the surface.
- Practice firing on spare materials to gain better control.
- Ensure the material being nailed is stable.
- Inspect the tool for worn-out parts.
- Avoid applying excessive pressure to the nail gun.
- Use sequential triggers for better control and to reduce the likelihood of kickback.
Working Safely in Various Environments
When working on projects in different environments, it is crucial to take the following precautions seriously:
Indoors
- Ensure proper lighting to see where the nails are being driven.
- Inspect for hidden obstructions like pipes or wires, as these can lead to accidents.
- Maintain good ventilation to avoid fatigue.
Outdoors
- Check the weather to ensure you’re not working in adverse conditions. Wind can cause tools to misfire, and rain can make surfaces slippery.
- Always work on stable, level ground to maintain control of your movements and tools.
- Wear personal protective equipment (PPE).
Heights (Ladders, Scaffolding, or Roofs)
- Ensure the ladder or elevated platform is properly set up and stable.
- Use safety harnesses and ropes when working on roofs or other high areas.
- Focus on balance and movement to reduce the risk of accidents.
Tight Spaces
- Clear the area to minimize hazards.
- Ensure proper lighting is used to operate the nail gun safely.
- Use compact tools, such as smaller or more maneuverable nail guns, to work efficiently in confined spaces.
Near Electrical Components
- Inspect the area for exposed wires or power sources.
- Keep your tools dry to prevent electrical hazards.
- Plug power tools into a ground-fault circuit interrupter (GFCI) to reduce the risk of electric shocks.
- Avoid overreaching to prevent driving nails into electrical lines or boxes.
- Use a stud finder to locate wires behind walls.
Hazardous Environments (Chemicals or Flammable Materials)
- Ensure the area is well-ventilated.
- Use explosion-proof tools rated for hazardous conditions, especially for air nailers.
- Wear appropriate personal protective equipment (PPE).
- Avoid sparks or electrical malfunctions.
- Store flammable materials or chemicals properly.
Safely Around Others
When working in a shared environment, inform coworkers about when and where you’ll be using nail guns. Keep others out of your immediate workspace and avoid overlapping tasks to minimize distractions.
Stay alert and use hand signals to communicate effectively in noisy environments. Prioritize workplace safety by following protocols and being prepared to assist coworkers in case of an accident.
Nail Gun Safety Checklist for Different Projects
Here, I have explained some essential safety checklists. I have described them based on the projects.
DIY Projects
DIYers should follow these essential tips to ensure safety during their tasks:
- Read the manual thoroughly before using a nail gun.
- Choose the right nail gun for your specific project.
- Always wear personal protective equipment (PPE).
- Keep your work area tidy and well-lit.
- Never point the nail gun at yourself or others.
- Ensure the nail gun is unloaded when not in use.
- Check the tool before use to confirm it is functioning properly.
- Use the appropriate triggering method for the task.
- Maintain a firm grip on the nail gun while operating it.
- Take regular breaks to avoid fatigue.
- Avoid overloading the nail gun.
- Stay alert and focused while using the tool.
Framing Projects
Framing projects often require heavy-duty nail guns. A framing nail gun is ideal for handling larger framing nails and materials safely. Ensure you select the correct nail length and gauge for specific framing tasks.
Stabilize beams and other materials to prevent movement while nailing. Divide the frame into sections to maintain focus, and check for secure joints after nailing to avoid structural weaknesses.
Maintain a firm grip to handle kickbacks carefully. To reduce the risk of accidental double firing, use the sequential trigger mode.
Roofing Projects
Roofing projects pose unique challenges and require caution. Always work on a flat, stable surface for balance, and wear roofing boots. Use a tool lanyard to prevent nail guns from falling.
Ensure shingles and other materials are free from debris to avoid misfires. Avoid roofing in high winds or rain, and place your ladder properly for safe roof access.
Adjust the nail depth to reduce the chances of over-penetration or deflection. Wear a harness and guardrails for added safety when working at heights.
Flooring Projects
Flooring projects involve repetitive nailing, making a flooring nail gun the ideal tool. Divide your workspace into manageable sections to stay organized. Ensure planks are stable and the surface is flat to prevent nail deflection.
Use good lighting to align tools and nails properly, and follow recommended nail patterns to avoid structural issues. Wear knee pads and take breaks to prevent overexertion.
Finishing Projects
For finishing projects, use a finishing nail gun and select the appropriate nail size and depth. Test the nail gun beforehand and stabilize the material you’re working on. Maintain proper hand placement for maximum control.
Avoid over-nailing, as excessive nails can damage the material; one or two well-placed nails are usually sufficient. Always wear protective gear and stay cautious when working on ladders or elevated surfaces.
Trim and Molding Projects
For delicate trim and molding work, use a finish or brad nail gun. Hold the nail gun properly and stabilize the material before nailing.
Inspect your tools before starting, and adjust the nail length and depth as needed. Wear protective gear and keep your workspace clean to maintain focus and ensure safety.
Furniture Building and Upholstery Projects
For upholstery projects, a staple gun is ideal. When working on upholstery, use protective covers to avoid accidental damage to surfaces.
Maintain proper hand positioning to minimize the risk of nail gun injuries. Use short nails and avoid overloading the nail gun. Always test the nail gun before use.
Fence Building
A framing nail gun is suitable for fence posts and rails, while a finish nail gun can be used for decorative panels. Stabilize large panels or planks with clamps before nailing to avoid movement that could cause misfires.
Adjust the nail length and depth as needed. Work on level ground, and avoid leaning over fences. Inspect tools before firing. As an outdoor project, avoid working in wet or windy weather to stay safe.
Repair and Maintenance Projects
Minor repairs typically require smaller nail guns, such as brad nail guns. Clear your workspace and check for hidden wires or pipes. Clamp loose materials, such as broken furniture or flooring, before nailing.
Turn off the power when working near electrical systems. Adjust the nail depth to prevent overdriving, and wear protective gear. Cover your workspace to protect surrounding areas.
Concrete and Masonry Work
For concrete and masonry projects, use a concrete nail gun. Wear enhanced protective gear, as these tasks produce significant dust and debris. Use nails and fasteners designed for concrete to prevent bending or breaking.
Secure the surface and test the tool on scrap material before starting. If using a pneumatic nail gun, check the air pressure to ensure proper function. Inspect tools after use to maintain performance and safety.
Ladders and Elevated Surfaces
Using a nail gun on ladders or elevated surfaces requires extra caution. Follow these safety tips to reduce risks:
- Ensure the ladder is on a level surface before climbing.
- Secure the nail gun with a tool belt to keep both hands free while climbing.
- Avoid leaning too far, as this can make the ladder unstable.
- Adjust the nail gun’s air pressure or settings to help maintain better balance while working.
- When working on an elevated surface, ensure it is sturdy and secure.
- Secure any loose components to avoid creating unnecessary messes or tripping hazards.
- Wear a harness or safety line to prevent falling from elevated heights.
Developing Comprehensive Nail Gun Safety Procedures
A comprehensive nail gun safety plan is essential for minimizing the risk of accidents and ensuring worker safety. The key components of creating an effective safety plan include:
- Identifying all risks and potential hazards.
- Setting clear safety guidelines, including pre-use inspections, proper PPE usage, and trigger lock protocols.
- Organizing training and education programs for beginners and DIYers.
- Creating a clear emergency response plan with detailed actions to be taken in case of accidents.
- Establishing a scheduled tool maintenance routine, including lubrication, parts replacement, and checks for damaged components.
- Conducting regular safety audits.
- Adopting a safety-first mindset.
- Reviewing and updating the safety plan regularly.
Safe Disposal and Recycling of Nail Guns and Their Parts
Nail guns, like all other tools, have an end. It’s important to mindfully dispose of them. Improper disposal can harm the environment, waste valuable resources, and contribute to health hazards.
You need to have a basic understanding of the components of a nail gun. Most nail guns are made of metals, such as aluminum, steel, or sometimes titanium. Many modern ones also have plastic parts.
Batteries are an essential part of cordless nail guns. Rubber grips, screws, springs, o-rings, pneumatic elements such as air compressors and hoses, etc., are also found in nail guns.
Separating the metal parts before disposing of the nail guns is important because metals are valuable and easy to recycle and reuse. Clean the metal parts and take them to a recycling facility.
Don’t throw away rechargeable batteries in regular waste because they contain toxic chemicals. Look for designated battery recycling stations and take the batteries there.
In the case of the air compressors of pneumatic nail guns, release the air pressure first. Also, the nail gun may contain lubricants or oils that need to be drained.
If your nail gun has air tanks, ensure the air is released and the tank is punctured or opened.
Not all types of plastic or rubber can be recycled, so take them to the recycling center and check for recyclable parts. The parts that can’t be recycled should be repurposed.
FAQs
1. What is the most common injury from a nail gun?
Ans: The most common injuries from nail guns are puncture wounds to the hands and fingers. These often occur due to accidental misfires or improper handling of the tool. Using a sequential trigger and keeping your hand out of the firing path can minimize risks.
2. Can a nail gun kill you?
Ans: It is extremely rare for people to be killed in nail gun accidents. However, if a nail is fired into a critical organ, such as the head, neck, or chest, it can certainly be fatal.
3. Do I Need Proper Nail Gun Safety Training As a Beginner?
Ans: Yes, proper training is highly recommended. Nail guns can be simple to use, but understanding the mechanics, trigger types, and safety features is essential to prevent accidents. Training helps gain a better understanding of these aspects.
4. How do I handle a nail gun jam safely?
Ans: To safely handle a jam:
- Disconnect the nail gun from its power source (air compressor or battery).
- Open the magazine and locate the jammed nail.
- Use the provided tool to carefully remove the nail.
- Reassemble the nail gun and test it before starting work.
“Stay Safe, Work Smart”
